Mat to Reformer: Your Pilates Progression Plan
By Priya Kapoor • 10th May
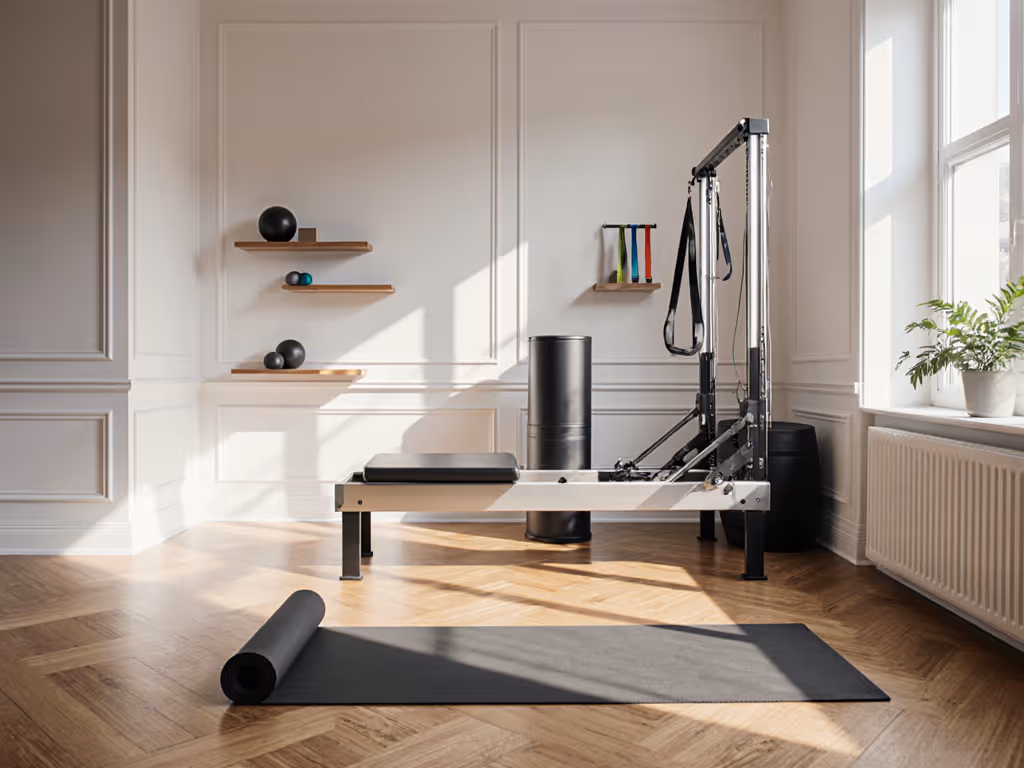
The jump from mat to reformer can feel dramatic (springs, resistance, moving carriages). But the transition works best when it's planned, not impulsive. A mat to reformer transition isn't just about buying new equipment; it's about sequencing readiness indicators, managing throughput in limited space, and building a pilates equipment set that aligns with your operational rhythm and your neighbors' peace. In compact apartments and shared buildings, progression must be orchestrated with the same care as your class schedule itself. For space-limited setups, see our best apartment Pilates equipment guide.
Understanding the Mat Foundation
The mat is your baseline for assessing foundational stability and control. Before introducing springs and carriage dynamics, you need measurable body-awareness markers (not subjective feelings, but observable patterns in your practice).
When working on mat consistently, specific performance metrics emerge. You're moving through space with defined points of contact. You're building proprioceptive awareness that translates directly to reformer work. The mat forces you to stabilize with your own musculature, which is why it remains non-negotiable, even after years on apparatus.
Think of the mat phase as throughput validation. You're establishing rhythm, consistency, and recovery patterns. If you're practicing mat three to four times weekly and maintaining form across foundational exercises (rolling, bridging, core work, leg coordination), you're ready to assess the next phase. The signal isn't how good it feels; it's how repeatable your execution becomes.
Apparatus Readiness Indicators: The Four Transition Markers
Readiness for apparatus isn't determined by duration alone. Specific apparatus readiness indicators signal when your body is prepared for spring resistance and dynamic carriage movement.
Marker 1: Spring Tension Awareness On mat, you manage your own bodyweight against gravity. On reformer, springs amplify movement and create variable resistance. Before transitioning, you should demonstrate controlled eccentric loading (the ability to lengthen against resistance without collapsing). On mat, this looks like slow, deliberate lowering in exercises like bridges and leg circles. You're not bouncing or using momentum; you're managing tension throughout the full range. For the physics behind springs and bands, see our Pilates resistance science explainer. When you can sustain this control for multiple repetitions without form degradation, you've got spring readiness.
Marker 2: Carriage Stability Tolerance The reformer carriage moves. Your mat practice hasn't conditioned your proprioceptive system for a mobile surface beneath you. Before jumping to full reformer work, you need to demonstrate comfort with transitional positions (moving between sitting, kneeling, and standing on a stable platform). Apparatus readiness here means you understand your base of support and can signal when your center has shifted. This is sometimes practiced on the box or tall stool first, which allows your nervous system to practice without the carriage's added complexity.
Marker 3: Breath Coordination Under Load Mat work teaches breath pacing in low-resistance environments. Reformer work layers tension, and your breath must sync with both the exercise and the spring load. If your mat practice shows consistent breath patterns (exhale on exertion, inhale on lengthening) without holding or gasping, you've signaled readiness for load-bearing apparatus. This is quantifiable: can you complete five repetitions of a flowing sequence without breath-holding? That's a ready indicator.
Marker 4: Recovery and Soreness Patterns Progression readiness also depends on how your body responds to current load. Are you recovering well between mat sessions? Is soreness minimal and localized to target muscles, or are you experiencing broad fatigue or joint sensitivity? Before reformer introduction, your current practice should generate predictable, manageable adaptation. If mat work triggers soreness lasting more than 48 hours, adding spring tension is premature.
Building Your Beginner Pilates Roadmap
A beginner pilates roadmap isn't linear. It's phased, and phases overlap. The goal is to sequence apparatus introduction without overwhelming neuromuscular capacity or creating unnecessary noise and disruption in shared spaces.
Phase 1: Mat Foundation (Weeks 1-12)
Consistent practice on mat, three to four sessions weekly. Focus is foundational exercises, breath pacing, and form consistency. By week eight, you should have established your baseline (the movements where your body finds stability without thinking). Phase 1 completion isn't about mastering the mat; it's about demonstrating readiness for new input.
Phase 2: Transitional Apparatus Introduction (Weeks 13-20)
Introduce apparatus one at a time. Many practitioners find towers or chairs more approachable than full reformers, because they narrow the variables. For small-space decision-making, see our tower vs reformer comparison. A tower teaches spring dynamics in a smaller footprint. A chair teaches balanced loading on a mobile surface. This phase keeps throughput consistent (you're still managing mat frequency) while introducing apparatus in controlled doses. Scheduling matters here, especially in apartments: spacing apparatus sessions prevents fatigue and keeps daily operations smooth, which maintains quiet, predictable practice patterns.
Phase 3: Reformer Integration (Weeks 21+)
Once chair or tower work demonstrates carriage comfort and spring coordination, reformer introduction is methodical. Start with stationary positions (sitting, standing, sidelying) before flowing sequences that engage the carriage. Reformer sessions are typically shorter and less frequent initially (once weekly, 30-40 minutes) while mat practice continues, maintaining your foundational base. This staggered approach prevents the common pitfall: jumping to reformer-only work and losing core stability.
Equipment Readiness Checklist: Know Before You Invest
Consistency: Are you practicing current equipment regularly and genuinely? Buying reformer apparatus when you're inconsistent with mat work signals future storage problems and wasted investment.
Space Reality: Measure twice. Reformers require clearance beyond their footprint (room to lie down, extend legs, and transition without hitting walls or furniture). In apartments, this often means repositioning your setup for each session or designating permanent space. That operational constraint matters. Undersized equipment might fit, but undersized practice space creates friction.
Noise Profile and Neighbor Impact: Spring-loaded apparatus produces sound (carriage movement, spring chatter, and floor transmission). In multi-unit buildings, this is non-negotiable. If you're in a walk-up or thin-walled unit, understand that carriage thump (however subtle to you) may transmit downward. Planning sessions during low-noise hours, using isolated pads under the apparatus, and spacing high-impact sequences throughout the week keeps neighbors undisturbed. Flow that respects tenants next door is real operational excellence.
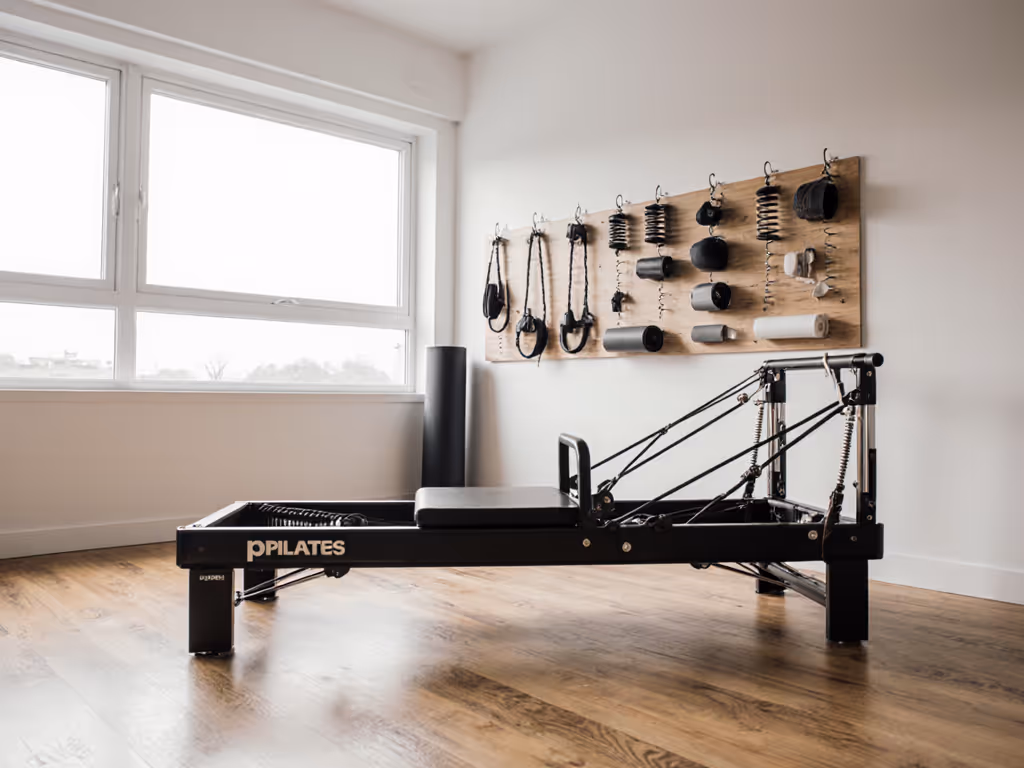
Maintenance Readiness: Springs require periodic care. Carriages need smooth gliding. Metal components corrode in humid climates. Before reformer ownership, assess whether you'll maintain the equipment or hire maintenance. Neglected springs squeak loudly and degrade quickly (a noise problem you create yourself). Use our reformer maintenance checklist to keep glide smooth and noise minimal.
Budget Alignment: Starter reformer packages and full studio setups have vastly different price points and lifespan. Know your actual budget and your actual timeline (are you building for one person or a micro-studio?). Underbuying creates frustration; overbuying in uncertain phases wastes resources.
Designing Flow Lanes in Your Practice Progression
Progression is most sustainable when it creates clear, repeatable routines. Call this your equipment readiness checklist in motion (a weekly rhythm where apparatus, space, and time flow without friction).
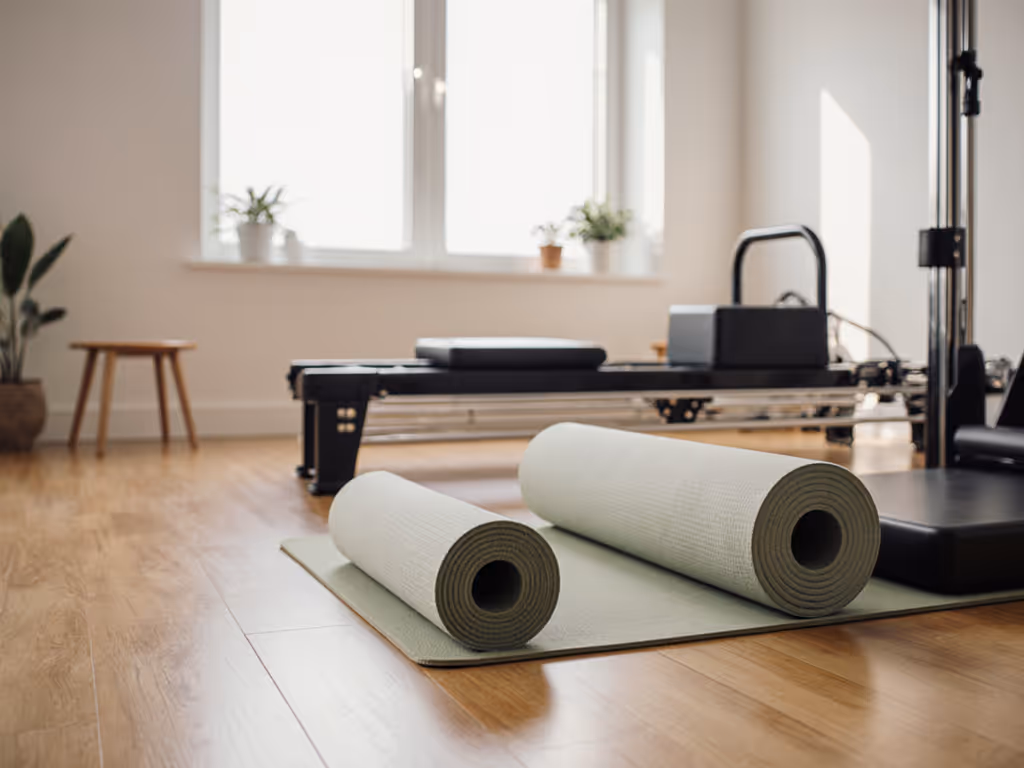
For example: Monday and Wednesday are mat-only days, scheduled during quieter hours and using minimal setup (your mat lives in a storage bag or wall pocket). Tuesday introduces reformer or chair work for 40 minutes, timed for when neighbors are typically at work or less sensitive to sound. Friday combines both, using mat as warm-up and cool-down around apparatus work. This rhythm builds pilates skill milestones (you're advancing apparatus skill while maintaining mat competency), and it respects the operational constraints of shared space. Neighbors don't perceive random thumps; they observe silence or consistent, predictable morning sessions.
This staggered approach also prevents overuse. Apparatus progression done too quickly can create muscle soreness, joint irritation, and burnout. When you space sessions and layer apparatus gradually, your body adapts systematically, and your practice remains sustainable for years.
Common Progression Pitfalls and How to Avoid Them
Pitfall 1: Skipping apparatus phases. Moving directly from mat to full reformer bypasses the neuromuscular preparation that smaller apparatus (chairs, towers) provides. Result: poor form, frustration, and potential injury. Mitigation: respect the phased approach, even if it feels slow.
Pitfall 2: Ignoring space constraints. Buying equipment that nominally fits but leaves no movement clearance creates an operational nightmare. You'll dread setup, skip sessions, and neighbors will experience daily rearrangement noise. Mitigation: measure your usable practice floor, not just the room dimensions.
Pitfall 3: Underestimating noise sensitivity. Early-morning reformer sessions seem quiet to you; your downstairs neighbor may disagree. Pitfall: discovering this after purchase or lease tension. Mitigation: test apparatus at the times you'll actually use it, discuss with neighbors if sharing a wall, and budget for isolation pads from day one.
Pitfall 4: Apparatus inconsistency. Buying reformer equipment before you've mastered mat basics or established consistent practice is like buying a high-end camera before you've learned photography. Equipment sits unused, budget regret sets in. Mitigation: first, prove consistency with current gear. Upgrade only after you've validated weekly frequency and genuine engagement.
Summary and Final Verdict
The mat to reformer transition succeeds when it's phased, measured, and responsive to your specific environment (both your body and your space).
Start with an honest assessment: Are you practicing mat consistently, at least three times weekly, with recognizable form stability and repeatable execution? If yes, you've met Phase 1 readiness. Can you introduce transitional apparatus (tower, chair) without disrupting your schedule or your neighbors? If yes, Phase 2 is viable. Do you have space for reformer placement, a time slot that aligns with quiet-hours norms, and commitment to maintenance? If yes, Phase 3 progression is justified. To plan purchases by stage, follow our progression bundles guide.
Skip the short cuts. Progressive loading (apparatus layered gradually, phases overlapped rather than replaced, and operational rhythms designed for both your body and your living situation) builds durable practice. Your body becomes stronger and more mobile. Your neighbors remain undisturbed. Your investment in equipment actually gets used.
The strongest progression is the quiet one: no complaints from downstairs, no strain from rushing, no buyer's remorse from misaligned purchases. That's not just better pilates. That's operational excellence in small spaces.
Related Articles