Pilates Progression Packages: Stage-by-Stage Bundles
By Mateo Álvarez • 6th May
The Problem: Equipment That Doesn't Fit Your Practice (Or Your Apartment)
You've decided to bring Pilates home. A solid decision. But then you hit a wall (literally and metaphorically). A full pilates equipment set sits at odds with your living room's dimensions. Your upstairs neighbor glares when the carriage impacts the floor. You wonder: should you buy a mat package now and a reformer later? Or commit to a bundle that might overwhelm your 400-square-foot studio? Standard equipment reviews talk features and feel, but they don't address the core tension: how do you build a practice that progresses and fits your actual space? For space-limited homes, see our best apartment Pilates equipment tested for quiet performance.
This is where pilates progression packages matter. They're not just collections of gear; they're solutions engineered for stages. A mat to reformer bundle reflects your journey. An apparatus advancement kit respects your footprint today while leaving room to expand. But which bundle is right? And more importantly, do the specs match the promises, or will you face the same neighbor complaints, squeaks, and space trade-offs everyone else does?
Let me walk you through how progression packages actually work, what they should deliver, and how to evaluate them so you choose once, correctly.
Understanding Progression Packages: Not All Bundles Are Equal
A pilates starter package isn't a budget gamble: it's a staged entry point. But the market doesn't treat them that way. Most bundles are thrown together: "mat, magic circle, and resistance band" or "reformer plus tower for $5,000." Neither approach respects progression. Real progression packages follow movement logic and space reality.
Progression in Pilates flows like this:
- Stage 1 (Foundation): Mat work, footwork, and basic core integration. Quiet, compact, adaptable to any room.
- Stage 2 (Accessory Integration): Tower, chair, or small apparatus. Expands range without doubling footprint.
- Stage 3 (Full Studio Capability): Reformer, tower, and integrated accessories. High-exercise volume; requires dedicated corner.
A true progression package honors this arc. It doesn't force you to replace core components; it lets you add without rework. That's the difference between a bundle and a trap.
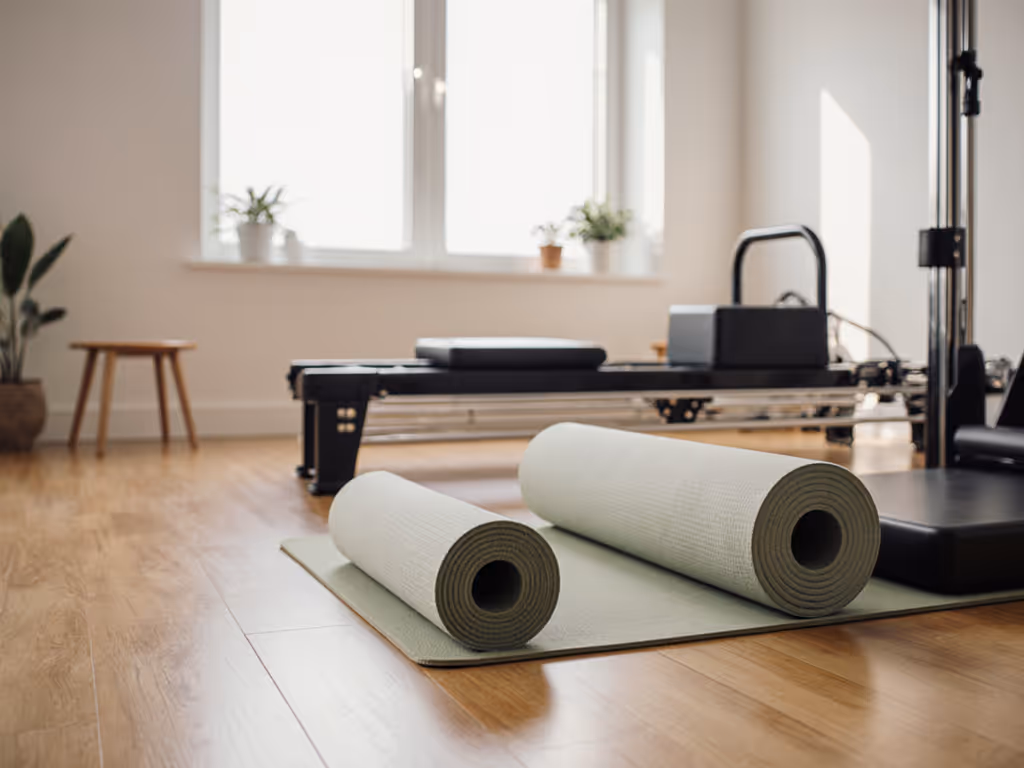
Stage 1: The Foundation Tier (Mat, Tower, and Quiet Confidence)
The first tier is deceptive in its simplicity. Get the essentials right with our Pilates mat comparison covering thickness, materials, and grip. A proper foundational pilates starter package should include:
- Mat or mat system (high-density foam, 1-2 inches, with clear thickness specs)
- Compact tower (wall-mounted or freestanding mini version; footprint ≤3 ft. × 2 ft.)
- Resistance bands or springs (for accessory work without bulk)
- Instructional framework (video, guide, or progression roadmap)
Critical metrics for Stage 1:
| Metric | What to Look For | Why It Matters |
|---|---|---|
| Footprint | ≤ 50 sq. ft. active space, including 2-ft. clearance buffer | Confirms it actually fits a bedroom corner or small living room without dominating. |
| Noise (Carriage Impact) | ≤ 65 dB per independent test; springs rated for vibration dampening. | Neighbor complaints spike at 70 dB; 65 dB feels like a quiet whisper to the unit below. |
| Setup Time | ≤ 5 minutes, tool-free or one tool only. | Encourages consistent use; complex setups become excuses. |
| Assembly Required | Pre-assembled mat and tower; accessories ready to use. No wall anchors or drilling needed. | Non-negotiable for renters; protects deposits. |
| Material VOC Rating | Third-party tested, < 0.5 mg/m³; low odor in small spaces. | Matters if you're breathing this for an hour in a 300-sq.-ft. studio. |
Stage 1 serves a purpose: it builds discipline, teaches body awareness, and proves you'll actually use equipment before you invest in reformer real estate. For apartment dwellers, this is often the only tier needed year-round (a truth the industry rarely admits because it conflicts with upselling).
Reset and Fold Testing for Stage 1
Tape the footprint, then test the flow under pressure. This isn't romantic... it's methodology. Lay painter's tape on your floor in the exact footprint the tower and mat require. Now walk around it. Can you move a chair through the room? Can you vacuum? Can two people pass? If tape reveals friction, the actual setup will too. Test the tower's fold or wall-mounting mechanism ten times. No wobble, no squeaks, no adjustments needed.
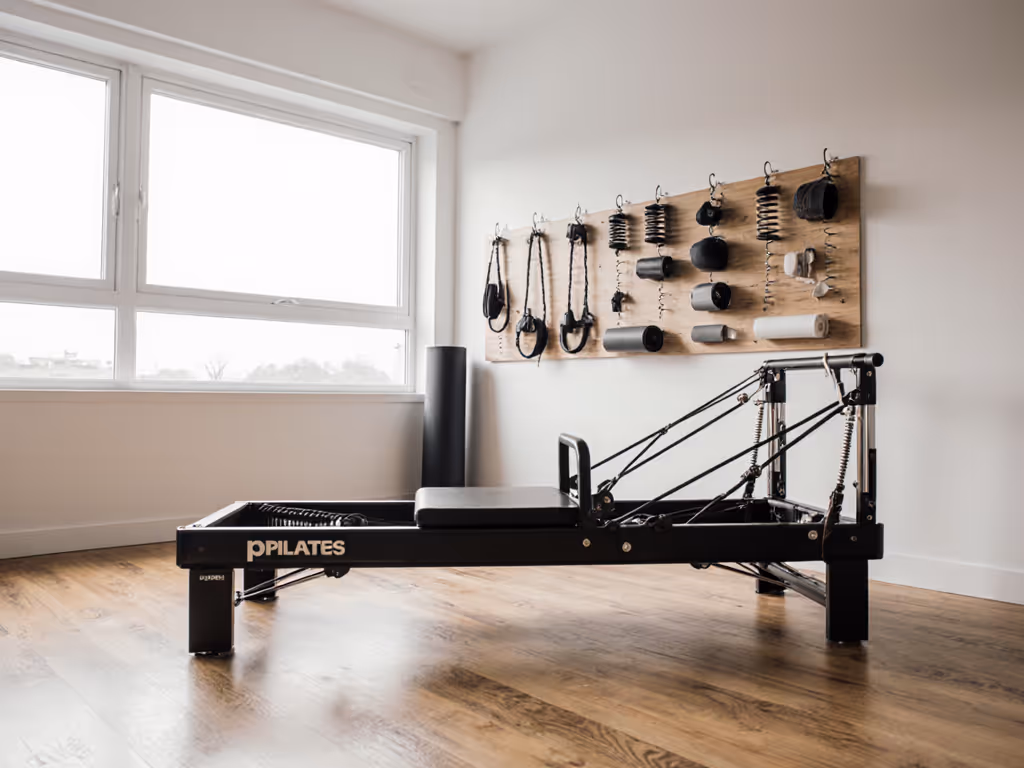
Stage 2: The Integration Tier (Adding Range Without Multiplying Space)
After three to six months of Stage 1, patterns emerge. Maybe you crave the depth of carriage work but don't want a full reformer. Compare compact options in our tower vs reformer guide built for quiet apartments. Maybe you need chair-based exercises for hip mobility. This is where apparatus advancement kits enter: targeted add-ons that expand your repertoire without consuming the room.
Stage 2 typically adds:
- Reformer reformulated: Compact or foldable model (48-60 inches long, stackable footprint ≤ 50% of Stage 1).
- Or chair apparatus: Stability chair or spine corrector; can nest under the tower or wall-mount.
- Spring or strap upgrades: Additional resistance options without new infrastructure.
Critical Stage 2 metrics:
| Metric | Benchmark | Red Flag |
|---|---|---|
| Compatibility | All springs, straps, and attachments work across Stage 1 + Stage 2 gear without adapters. | Different connector types = fragmented, costly ecosystem. |
| Combined Footprint | ≤ 100 sq. ft. when both tiers are deployed; ≤ 50 sq. ft. when Stage 2 is folded/nested. | If combined footprint exceeds 100 sq. ft., the space stops breathing. |
| Reset Time | Swap or fold Stage 2 in ≤ 10 minutes, one person, no tools. | Multi-step, two-person resets kill consistency. |
| Noise Profile (Carriage) | ≤ 68 dB on reformer; damped springs, not clack. | Carriage noise is the #1 neighbor complaint; 70 dB upsets residents two floors up. |
| Assembly Complexity | Pre-assembled; bolts only; wall anchors included and lease-safe (damage-free). | If it requires drilling or two installers, it's not Stage 2 for renters. |
The Folding Mechanism Check
Stage 2 gear must earn its footprint by resetting fast. If a compact reformer doesn't fold flat in under 60 seconds or doesn't nest into a 12-inch storage profile, it's a performance theater piece, not a functional tool. Check:
- Does the carriage lock flush? (Loose carriages rattle in transit.)
- Do footbars fold or drop without manual guidance? (Smooth hinges matter.)
- Is there a defined storage position, and does it look intentional in a room? (Ugly folds kill habit.)
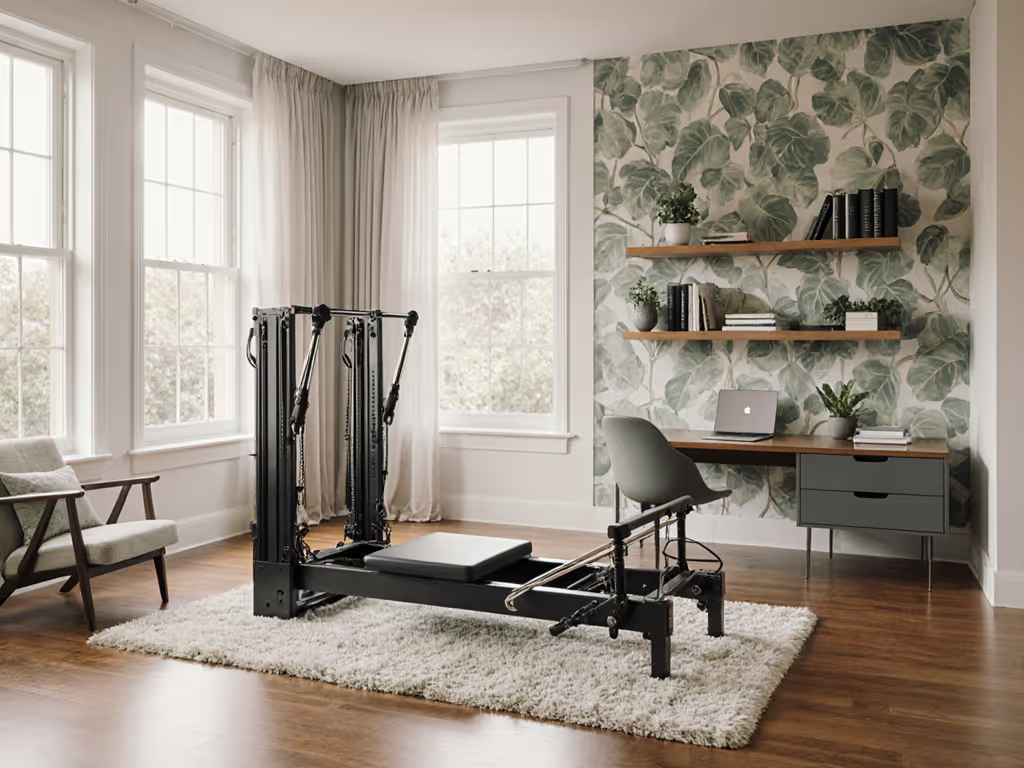
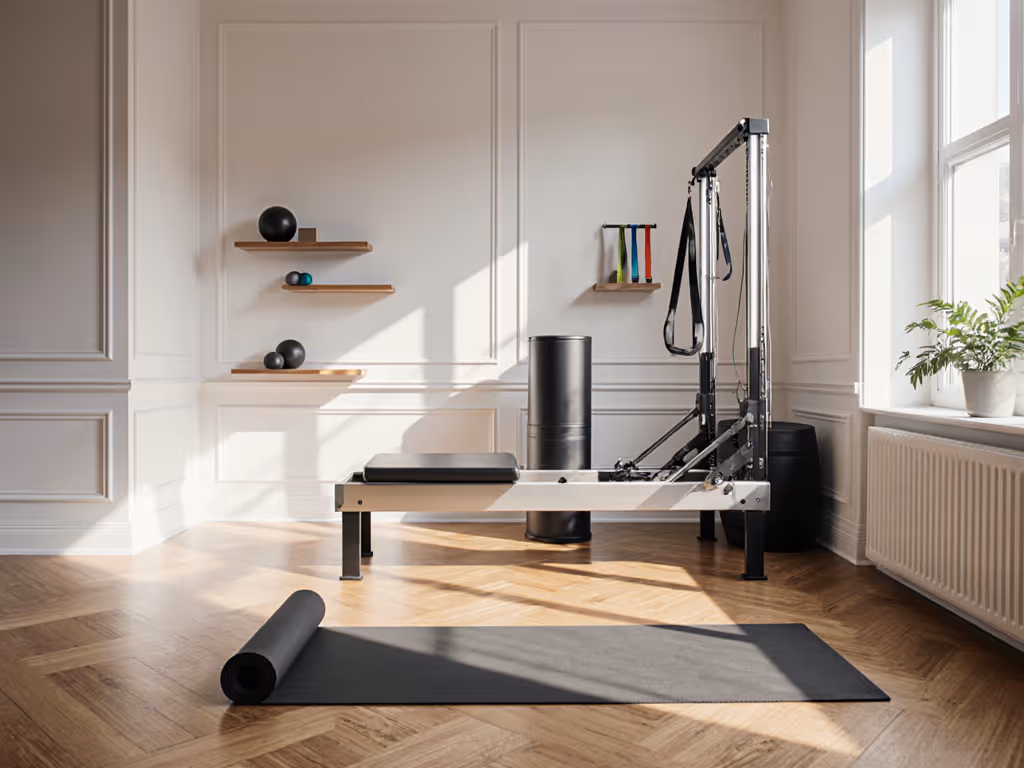
Stage 3: The Full-Capacity Tier (Reformer, Tower, and Studio Versatility)
Stage 3 is commitment. A value progression bundle at this tier includes:
- Full-length reformer (traditional 8 ft. or premium 7 ft. compact).
- Integrated tower or ladder system.
- Accessory ecosystem: boxes, straps, springs, extension rails.
- Programming access: app or video library tied to equipment.
Stage 3 metrics, the deal-breakers:
- Minimum Footprint: 90 sq. ft. when deployed; 60 sq. ft. when folded. If your room is 150 sq. ft., Stage 3 is a lifestyle room, not a living room.
- Noise Isolation: ≤ 70 dB; must include floor isolation pads and vibration-dampening feet (provided, not add-on cost).
- Carriage Glide: Smooth across full range of motion; no catch points, no springs resonating at end range.
- Weight Limit & Stability: Rated for users 80-250 lbs.; tested on soft, hard, and sloped floors; no wobble under dynamic load.
- Compatibility: Works with Stage 1 and Stage 2 components or justifies replacement with equivalent performance.
- Warranty & Support: 5+ years on frame; 2+ years on springs; easy access to replacement parts, not discontinued SKUs.
Micro-Studio Considerations at Stage 3
If you're outfitting a micro-studio (two to four stations in <500 sq. ft.), Stage 3 selection defines your throughput. Can you reset one station while a client is on another? Can you reconfigure from a private session setup to a group class in five minutes? Does the equipment block emergency exits or fire lanes? These aren't comfort questions; they're compliance and business viability.
Evaluating Bundle Value: Beyond Price Tags
Value progression bundles aren't defined by cost. They're defined by this formula:
Value = (Exercise Variety + Space Efficiency + Noise Isolation + Reset Speed) / Total Footprint
A $3,000 Stage 1 bundle with a 40-square-foot footprint and 63 dB noise profile outperforms a $5,000 Stage 2 package that sprawls, squeaks, and takes 20 minutes to fold.
Here's how to compare:
The Measurement-First Approach
- Draw your room to scale. Use a measuring tape, not rough estimates. 12 feet × 14 feet is different than 11 feet × 14 feet.
- Tape the footprint of each bundle tier. Leave 2-foot clearance on all sides. Walk the perimeter. Move furniture through the room. Is it realistic?
- Test noise independently. Don't rely on manufacturer claims. If specs aren't backed by third-party decibel data, ask for a demo or trial.
- Time the reset. Have the vendor or a friend time fold, storage, and setup. If it's not under 5 minutes for Stage 1 or 10 minutes for Stage 2, the setup friction will compound.
- Check material certs. Request VOC reports, fabric content, and foam density specs. Vague descriptions signal quality shortcuts.
The Compatibility Checklist
- ✓ Can Stage 1 springs fit Stage 2 reformer?
- ✓ Can Stage 2 tower anchor work with a Stage 3 reformer carriage?
- ✓ Are footbars, boxes, and straps universally compatible, or proprietary?
- ✓ If you upgrade, do you sell or donate the old tier, or repurpose it?
Space should breathe; gear must earn its footprint by resetting fast.
A bundle that forces you to replace components at each stage is not progression; it's repeat purchasing disguised as expansion.
Floor Protection, Noise Isolation, and Reset Workflows
Even the quietest reformer becomes a problem on creaky hardwood or thin concrete. Match your setup to your surface with our Pilates flooring fixes guide. The bundle itself isn't enough; the foundation matters.
Floor Type and Isolation Requirements
- Pre-war hardwood (common in older apartments): Add 0.5-inch isolation pads (closed-cell foam, not rubber, which off-gasses). Stack two mats if noise echoes. Cost: $50–$150.
- Thin concrete (mid-rise modern buildings): Mass-loaded vinyl layer beneath isolation pads; dampens vibration transmission to units below. Cost: $150–$300.
- Carpet or laminate: High-density foam pads sufficient; rubber not needed. Cost: $30–$100.
Bundles sold as "quiet" must include floor isolation guidance (not as an upsell, but as documentation). If the spec sheet doesn't mention floor type compatibility, the noise rating is incomplete.
The Reset Workflow Template
Design your reset like choreography. For a micro-studio or shared space:
- Deploy (0-5 min): Unfold/roll mat, flip or slide reformer carriage to home position, attach springs or set tower alignment.
- Align (5-10 min): Position footbar, check carriage glide, verify no squeaks under light load.
- Reset (10-15 min): Fold or nest gear in designated storage; check for loose bolts or shifted parts; clean fabric/springs.
- Teardown (15-20 min): If moving stations, wipe down, reposition mat, reset accessories to neutral.
If your bundle doesn't support this timeline, it's not designed for real use (it's designed for occasional visitors who tolerate friction).
Choosing Your Progression Package: A Staged Decision Framework
Don't let marketing narratives push you into the wrong tier.
Ask These Questions First
- How much usable floor space do you actually have? (Not apartment size, the real clear space where you'd practice.) Anything under 80 sq. ft. means Stage 1 or 2 only; 80-150 sq. ft. supports Stage 2 + Stage 3 if wisely configured.
- What's your realistic practice frequency? If you practice 3+ times per week, invest in Stage 2 or 3. If it's twice per week or less, Stage 1 with occasional tower work is honest and sufficient.
- Do you share walls or live on an upper floor? Noise becomes non-negotiable. Spec the quietest Stage 1 bundle first; prove you'll use it before upgrading to a carriage-based reformer.
- Are you in a rental or owned space? Renters need zero-damage assembly and wall-safe mounting. This excludes some Stage 3 options but clarifies the actual landscape.
- Is this a personal practice or a micro-studio? Personal use favors compact, foldable, single-person resets. Studio use prioritizes durability, volume throughput, and guest-ready appearance.
The Decision Matrix
| Your Profile | Recommended Tier | Why | Footprint Budget | Noise Budget |
|---|---|---|---|---|
| Solo apartment, <2x/week | Stage 1 only | Builds habit; respects space and neighbors; lowest cost entry. | 40–50 sq. ft. | ≤ 65 dB |
| Solo apartment, 3+x/week | Stage 1 + Stage 2 | Adds depth without bloat; folds if needed; progression feels earned. | 60–90 sq. ft. deployed | ≤ 68 dB |
| Micro-studio (2–4 clients) | Stage 2 + Stage 3 | Supports class diversity and quick resets; durability prioritized. | 100–150 sq. ft. multi-station | ≤ 70 dB per station |
| Partner/couple, daily use | Stage 3 (studio room) | Justifies dedicated space; full exercise library; secondary room ideal. | 100+ sq. ft. | ≤ 70 dB |
Assembling Your Purchase Sequence
Progression packages are investments (plural). Build them in phases to reduce buyer's remorse and align spending with actual use.
Phase 1: Stage 1 Validation (Month 1-3)
- Order mat, foundational tower, and light accessories only.
- Total spend: $800–$1,500.
- Prove you'll practice 3+ times per week. Track sessions.
- Assess which exercises feel limiting. This data informs Phase 2.
Phase 2: Stage 2 Expansion (Month 4-6)
- Add complementary apparatus (compact reformer or chair, not both yet).
- Verify footprint and noise before committing to full Stage 3.
- Total spend: $1,500–$3,000.
- Use this phase to confirm neighbor feedback is neutral or positive.
Phase 3: Stage 3 Completion (Month 7+)
- Commit to full-capacity tier only if Phases 1 and 2 proved consistent use and space/noise permits.
- Total spend: $2,500–$5,000+.
- At this tier, consider durability, warranty, and trade-in value if you move.
This staged approach costs slightly more upfront but eliminates the $5,000 regret purchase gathering dust in a closet.
Your Next Steps: Tape the Footprint, Then Test the Flow Under Pressure
Here's your action plan:
Week 1: Assess Your Space
- Measure your practice room (length, width, ceiling height, floor type).
- Identify obstacles: radiators, outlets, door swings, windows.
- Sketch it to scale or use a room-planning app.
- Mark the largest clear floor space.
Week 2: Define Your Tier
- Complete the decision matrix (above) and identify your profile.
- List your top 3–5 progression packages by name and tier.
- Download or request spec sheets; verify footprint, noise, reset time, and compatibility.
- Check for third-party testing data (decibels, VOC ratings, durability reports).
Week 3: Test Before Buying
- Request a trial or demo from the vendor. Non-negotiable for Stage 2/3. If a trial isn't available, consider quiet Pilates equipment rentals to test fit and noise at home.
- Tape the footprint in your actual room.
- Perform 10–15 minutes of work on the tier. Listen for squeaks, feel for stability, time the reset.
- Ask: "Do I want to practice on this tomorrow, and the day after?"
Week 4: Commit or Reframe
- If yes, place the order only for Stage 1. Don't skip forward to Stage 3.
- If hesitant, revisit the specs and decision matrix; don't let marketing or FOMO override data.
- Confirm delivery, assembly, and return policy in writing.
Progression packages are puzzles designed to fit your life, not templates for everyone else's. The market doesn't talk this way because it profits from larger sales and buyer confusion. You have the framework now. Use it.
Your practice is waiting. Tape the footprint first.
Related Articles