Mat to Reformer: When to Upgrade Your Pilates Equipment
By Keiko Tanaka • 20th Apr
The mat to reformer transition isn't calendar-driven or ego-driven. It's readiness-driven. You upgrade when three conditions align: your mat practice has exposed specific weaknesses that springs alone can address, you understand how apparatus readiness indicators map to your actual fitness capacity, and your space can absorb both the physical footprint and the acoustic load. Most practitioners jump too early, lured by studio variety or instructor suggestion, without testing whether their body has actually completed the mat foundation. This walkthrough cuts through marketing and gives you the honest metrics.
FAQ: Your Readiness Deep Dive
Q: What actually changes when you move from mat to reformer?
Your resistance source shifts. On the mat, you work against gravity and your own bodyweight.[1] Effort spikes at the hardest part of each movement, like when your legs extend fully.[1] On the reformer, springs distribute effort more evenly across the entire range of motion, so the work feels steadier and more supported.[1] This is why the reformer can feel easier for beginners, but it also masks weaknesses. A weak oblique shows up immediately on the mat. On the reformer, spring assistance can carry you through poor form.
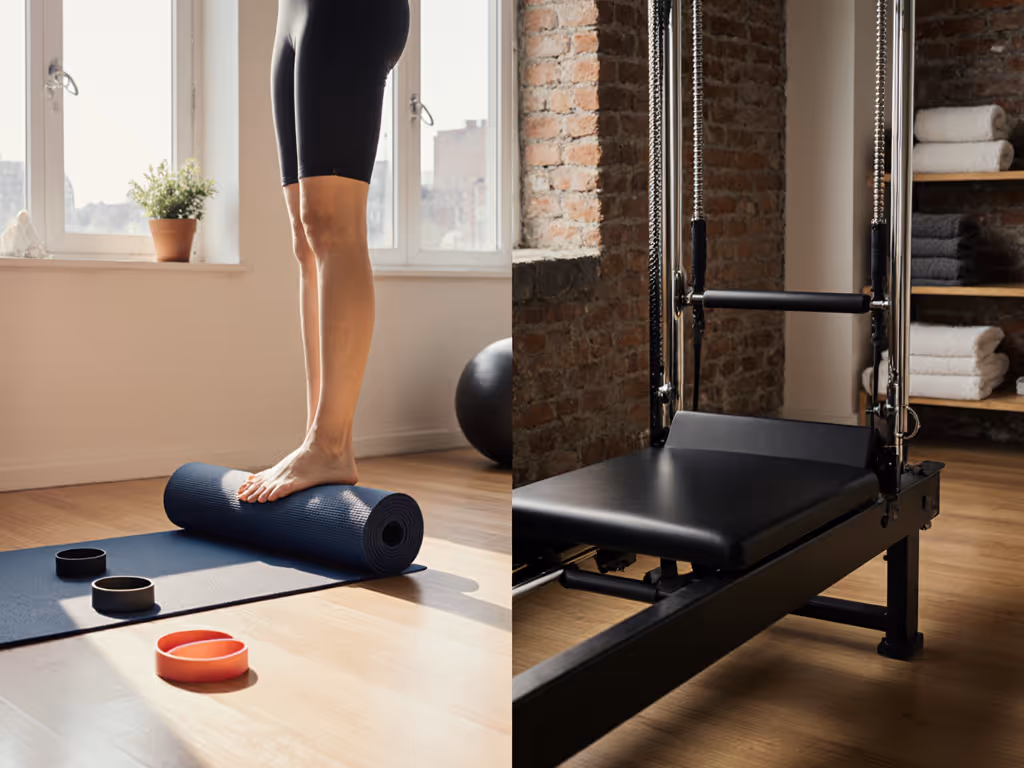
The beginner pilates roadmap therefore isn't a simple ladder. To support that approach, compare options in our Pilates mat guide for the right thickness and grip. It's "master specific skills on the mat first, then use reformer variety to deepen and refine." If you can't hold a neutral spine on the mat, springs will confuse you, since you won't know if the machine or your muscles did the work.[1]
Test notes: The reformer isn't easier. It's different. And that difference only pays off if your mat foundation is genuinely solid.
Q: How do I know if I'm actually ready?
Most guidance says "six months of practice." That's too vague. Here are concrete equipment readiness checklist items that matter:
Postural control signals:
- You can hold a neutral pelvis during 10 leg circles per side without tilting or clenching. Slow pace, steady breath.
- You can roll down from standing to floor and back up with each vertebra articulating separately. No jamming, no flopping.
- Single-leg balance for 30 seconds per side. Eyes open, no grabbing.
Experience with resistance:
- You've worked with light external load (Theraband, light weights, or studio reformer under supervision). Spring resistance is familiar, not foreign.[1]
- You can mentally separate spring tension (the machine's load) from your muscular effort (your work). If you credit springs for work you didn't do, you're not ready.[1]
Form under fatigue:
- You complete 15-20 minutes of mat cues without collapsing into compensation patterns, shoulder hunch, rib flare, spinal twist. Your form holds when you're tired.
If you're hitting two of three consistently, you're ready to try reformer in a supervised studio class. If all three are solid, you're ready to consider home ownership.
Q: What's the actual space and sound question for apartment dwellers?
This is the question almost nobody asks before buying. You need real answers:
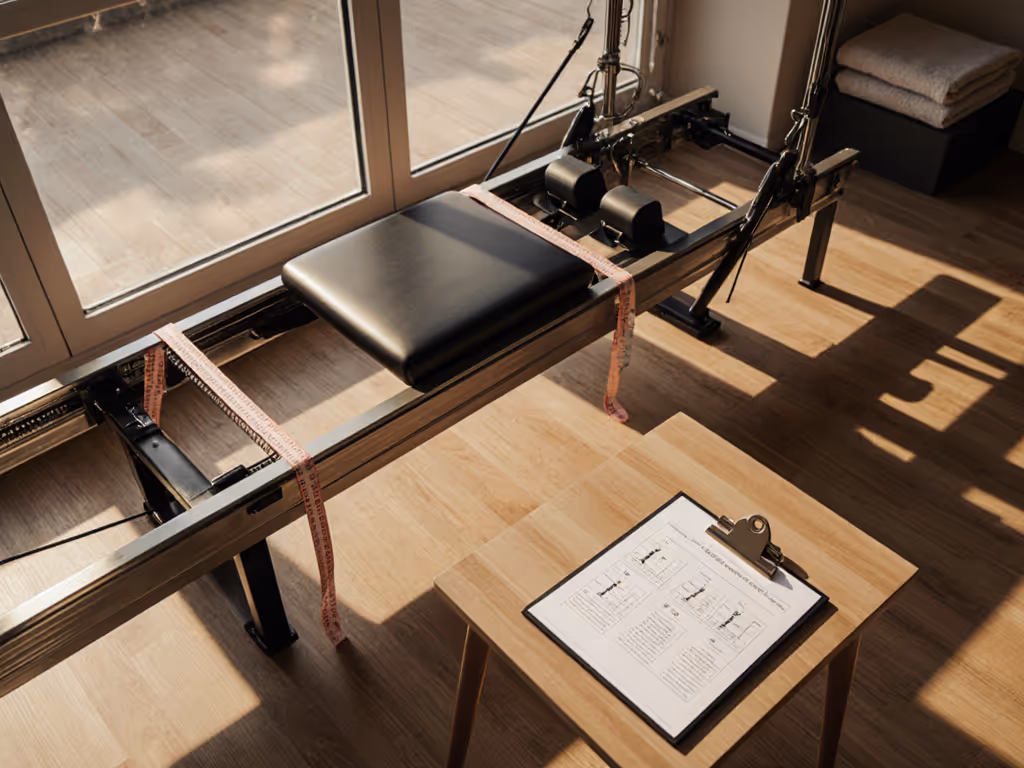
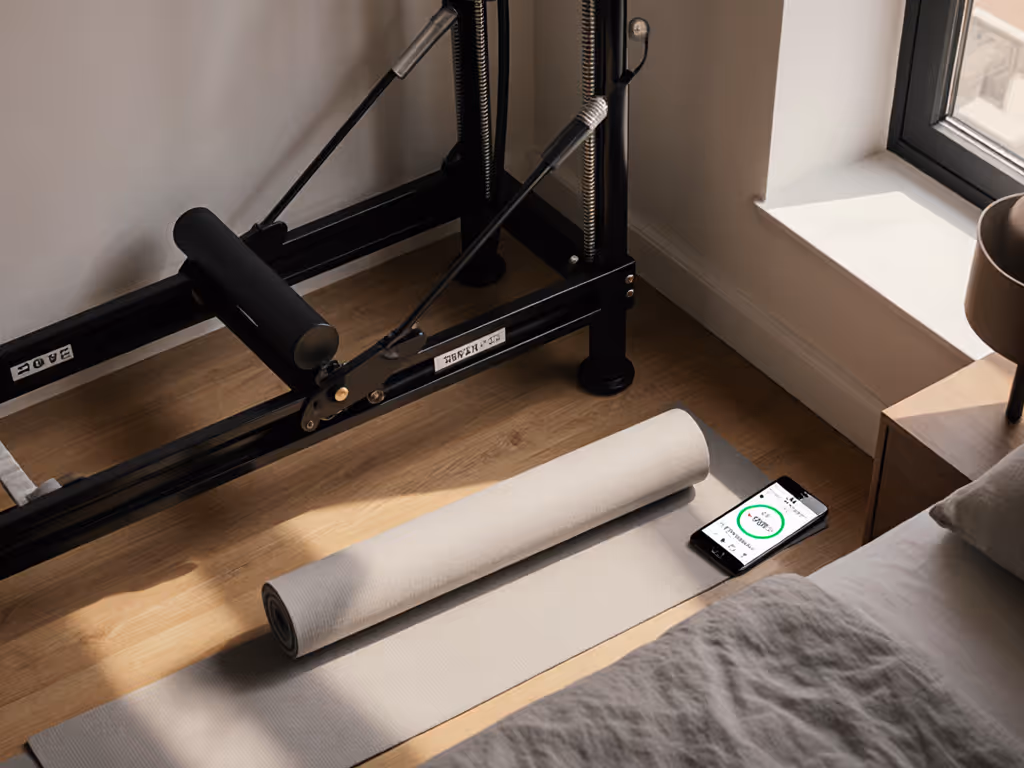
Footprint logistics: Full-size reformers occupy roughly 8 feet long × 2.5 feet wide. [Test condition: measure your actual room before shopping.] You need 2-3 feet of clear space around for side-lying work and footwork variations. Ceiling height matters: if your apartment is under 9 feet, some overhead or standing sequences become unsafe. If you have 8-foot ceilings, you're limited to seated and lying work, a real constraint.
Noise profile (the thing studios won't tell you): Spring-loaded carriages make sound. Straps chafe. Footbars clack. On hard floors, carriage movement sends vibration downward to whoever is underneath. I learned this the hard way. In my first apartment above a jazz bar, I measured nighttime hums with a borrowed sound meter. Quiet isn't magical. It's measurable. That habit became my north star: measure, adjust, verify (quiet that earns your neighbor's forgiveness).
Different reformer models have different acoustic signatures.[1] A well-damped carriage and reinforced frame sound different than a budget machine. Springs, rubber feet, and floor type all matter. For surface-specific setup and noise control, see Pilates flooring fixes. You can't trust marketing specs here. You need to hear it.
Practical test: Visit a studio with reformers. Bring a decibel meter app on your phone (most are free). Record the ambient silence, then the carriage during a dynamic session. That number (baseline versus machine) tells you everything. Then ask: can my floor support isolation pads? Do my walls permit sound dampening? If the answer is no on both, apartment reformer ownership might disturb your lease (and your downstairs neighbor).
Q: What's the cost reality for space-constrained dwellers?
Mat-only path: $0-150 (mat, blocks, strap). Your cost is studio membership or online class subscriptions.
Mat + studio reformer access: $150-300 per month, typically.[4] You own nothing. No setup, no maintenance, no space burden.
Mat + home reformer: $2,500-6,000 for a quality new machine.[3] Add delivery, potential floor reinforcement or isolation pads, and maintenance over time. If you're shopping under $1,000, start with our best quiet budget reformers comparison.
The math: Home equipment only makes financial sense if you practice 4-6 times weekly for 2+ years and value the time saved on commute. [Test condition: track your honest practice frequency for 4 weeks before deciding.] If you practice 2-3 times weekly, studios are cheaper and zero-responsibility. Measure your actual practice frequency before deciding.
Honest opinion: a hybrid approach, mat fundamentals at home, occasional reformer studio sessions for variety, often wins for apartment dwellers. It costs less, requires no space, and keeps noise complaint risk to zero.
Q: Can I start on a reformer if I'm a complete beginner?
Technically yes. Both formats work for beginners, though the better starting point depends on comfort with coordination and ability to follow cues.[1] Reformers have adjustable springs, so you can dial resistance down to near-bodyweight. But here's the hidden cost: on the mat, sloppy movement is immediate feedback (you collapse, you can't hold position). On the reformer, springs offer so much assistance that bad form gets hidden until you try mat work again.[1]
Honest pathway for beginners in apartments:
- Start mat. 6-12 weeks, 2-3× weekly. Build proprioceptive literacy, feel what good form is.
- Add reformer variety after mat skills lock in. This also lets you test noise and space constraints on a quiet mat before committing capital to a machine.
- This sequence also lets you try a studio reformer (low-risk) before a home purchase (high commitment).
Q: What skill milestones actually justify buying a reformer?
Progressive mastery moves through stages:
Weeks 1-12 (Fundamentals): You can execute a side leg series without spinal rotation, hold a plank without shoulder shrug, and articulate a roll-down vertebra by vertebra. Basic mat vocabulary is solid. Mat strength shows up as endurance and control in positions that demand stability.[1]
Weeks 12-16 (Plateau): Mat progressions feel repetitive. Your body has adapted. You're ready for something, but what?
Weeks 16-20 (Variety readiness): You've logged 100+ reps of core sequences. The idea of long-box footwork, strap work, and standing sequences interests you, not overwhelms you.[2] You're curious, not lost.
Weeks 20+ (Isolation clarity): You can feel the difference between momentum and muscular control. Reformer feedback, carriage shift showing asymmetry, springs requiring precision, becomes teaching tool, not confusion.[1]
If you're at milestone 2 or 3 and have verified space and noise tolerance, upgrading is logical. Before that, it's premature. You'll either abandon it or blame the machine for poor fundamentals.
Q: Can I use a reformer for injury recovery from an apartment?
Reformers genuinely excel here, the supportive feature makes them ideal for rehabilitation after injury.[3] Springs allow people recovering from injury to work muscles they couldn't safely load with full bodyweight.[4] But apartment noise becomes more important, not less. An injured neighbor (downstairs) is a neighbor you definitely don't want to agitate.
If you're working with a physiotherapist on recovery, studio sessions supervised by your PT are usually safer than home ownership while learning. Once fundamentals are restored, then consider home equipment if space and noise clear.
Your Equipment Readiness Checklist
Before you buy a reformer, honestly answer these:
- ✓ Postural control: Neutral pelvis holds. Articulated roll-downs. Single-leg balance all solid.
- ✓ Fatigue resilience: You complete 15+ minutes of mat work without form breakdown.
- ✓ Space verified: 8×2.5 feet available, 8.5-9 feet ceiling minimum, 2-3 feet lateral clearance mapped.
- ✓ Sound baseline tested: You've attended a reformer class in a room similar to your apartment. You recorded the noise. You've listened to it.
- ✓ Floor and neighbors: You know your floor type (concrete slab, creaky wood, etc.). You've considered isolation options. You've spoken to neighbors about practice timing.
- ✓ Practice frequency confirmed: You realistically log 4+ sessions weekly for the long term. (If it's 2-3× weekly, studio access is cheaper and safer.)
- ✓ Maintenance plan: You understand spring lifespan, lubrication schedules, and repair costs before you commit. Bookmark our reformer maintenance guide to keep noise low and performance smooth.
The reformer is an upgrade, not a rescue. It amplifies what you've already built on the mat.[2] If your mat foundation is solid, the reformer becomes a tool for deeper strength and mobility. If your mat foundation is weak, the reformer becomes expensive clutter that masks what you haven't learned.
Measure, adjust, verify. Test in a studio first. Buy only after you've answered all the questions above.
Related Articles