Best Pilates Equipment for Stroke Recovery Phases
By Mateo Álvarez • 12th Dec
When selecting the best pilates equipment for stroke recovery, you're not just choosing exercise tools, you're mapping a path through your neurological rehabilitation timeline. As someone who designs workout layouts for micro-spaces, I've seen how the right equipment can transform recovery: balancing therapeutic needs with spatial reality. Space should breathe; gear must earn its footprint by resetting fast. In this guide, I'll help you select equipment that supports recovery phases while respecting your home's constraints, because a reformer that blocks your walking path defeats its purpose. Let's map your journey step by step.
Phase 1: Foundation Building (0-3 Months Post-Stroke)
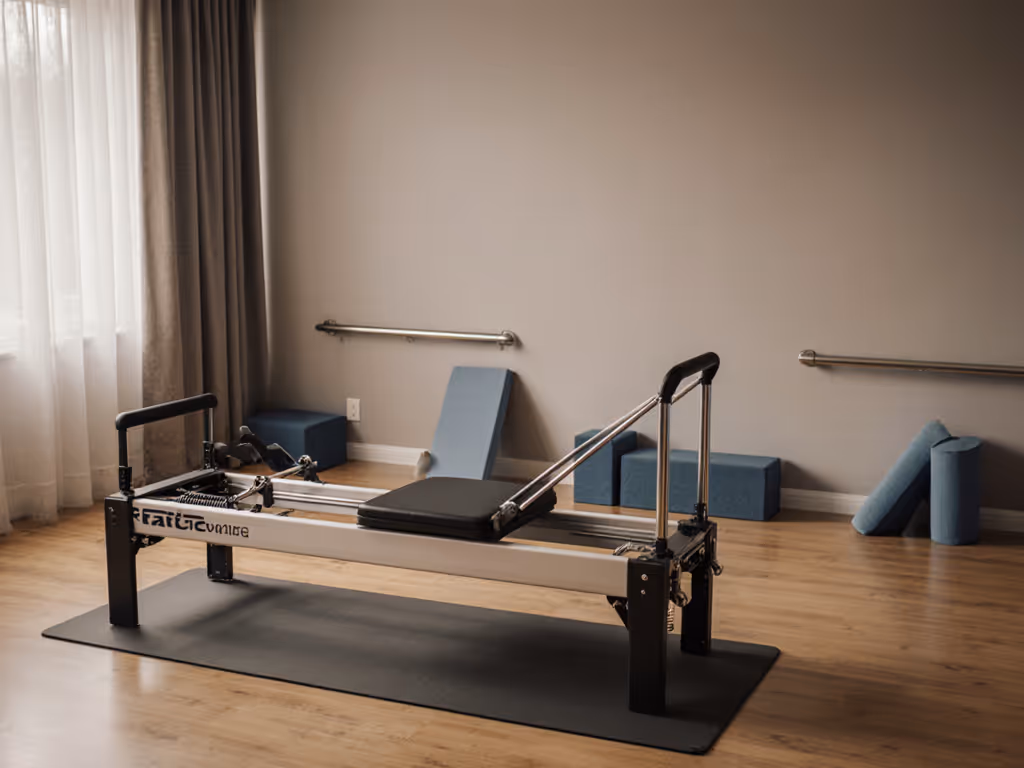
During acute recovery, your primary focus is safety, stability, and establishing neuromuscular connections. The stroke recovery progression at this stage requires equipment that provides maximum support with minimal spatial demand. Forget full reformers for now; your priority is maintaining clear circulation lanes (minimum 36 inches) while enabling seated or supported movement. For a deeper dive into rehab-specific setups, see our compact Pilates rehab equipment guide.
Start with these space-efficient essentials:
-
Wall-mounted resistance bands: Position at hip and shoulder height for weight-bearing exercises. Measure 18 inches of clearance front-to-back, enough room for subtle shifts without compromising balance. These support hemiparesis pilates adaptations by allowing unilateral work with bilateral support.
-
Foldable balance discs: Nest under your chair when not in use. Use them for seated pelvic tilts and weight shifts, critical for early neuroplasticity pilates protocols. Measure your seated footprint: a 14-inch disc needs just 1.5 square feet of floor space.
-
Compact stability balls (55cm): Choose anti-burst models that won't roll away. Store vertically in corners using wall brackets. Practice seated weight transfers for 5 minutes daily, which builds trunk control without sprawling equipment.
Tape the footprint, then test the flow under pressure. I once taped out three reformers on my studio floor, then realized only one left safe walking lanes. That day I started treating floor plans like choreography.
During this phase, reset time is critical: equipment should deploy and stow in under 90 seconds. Measure your daily routine transitions: if setup exceeds your available time, the equipment won't get used.
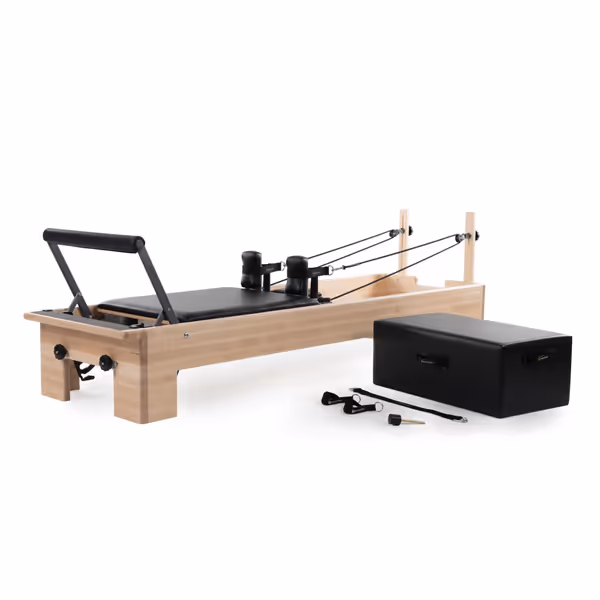
Balanced Body Studio Pilates Reformer
Studio-grade Pilates for a smooth, quiet workout at home.
$4600
Resistance Levels46
Resistance Levels46
Pros
Ultra-smooth, quiet precision carriage system.
Durable, beautiful solid maple construction.
Versatile with included sitting box and adjustable features.
Cons
Premium investment for home use.
Customers find the reformer to be well-built, with one noting it's made in the USA, and appreciate its strong wood construction. The equipment is easy to set up, and customers consider it worth the investment.
Customers find the reformer to be well-built, with one noting it's made in the USA, and appreciate its strong wood construction. The equipment is easy to set up, and customers consider it worth the investment.
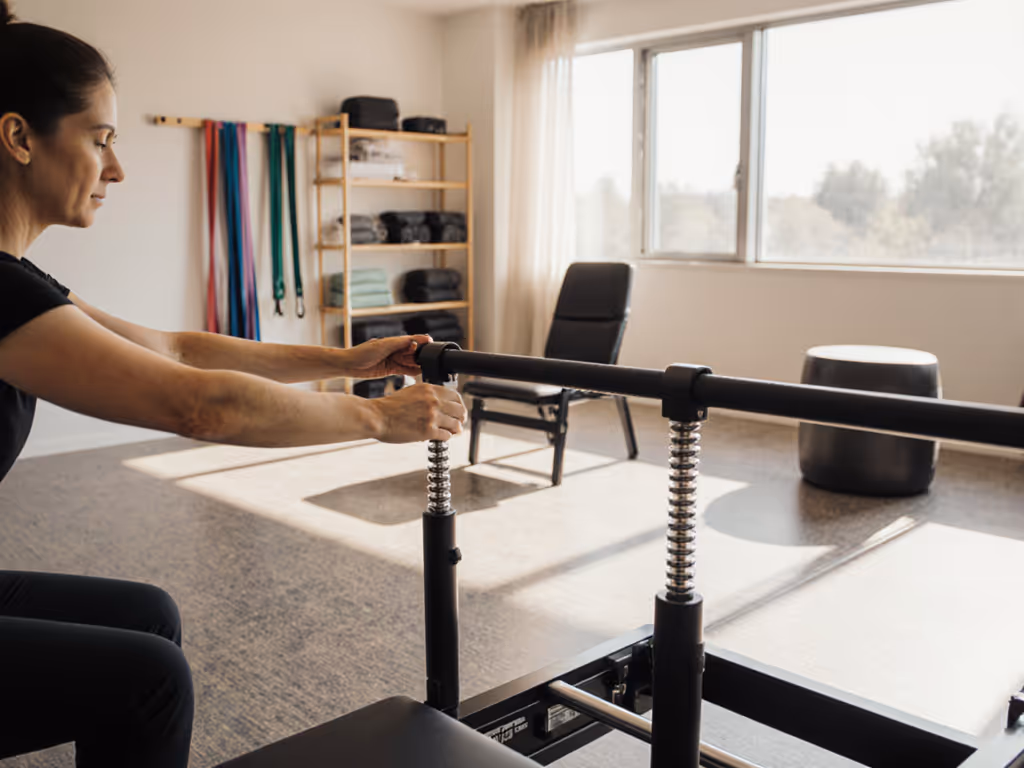
Phase 2: Balance Retraining (3-6 Months Post-Stroke)
As stability improves, you'll need balance retraining equipment that challenges without overwhelming. This phase requires precise spatial planning, you're adding dynamic movement while maintaining safety margins. The goal: equipment that occupies space only when in use, then disappears.
Key spatial strategies for this phase:
-
Wall-mounted reformer towers: These provide spring resistance for seated leg work and arm circuits while occupying zero floor space. Measure your wall height: minimum 96 inches for full range. Install using renter-friendly brackets that distribute weight across three studs (24-inch spacing).
-
Modular foot correctors: Position only during sessions. A 12x12-inch platform needs just 1 square foot but delivers critical proprioceptive feedback. Store flat under your bed.
-
Caster-mounted reformer bases: If using a full reformer, choose models with lockable casters. Calculate your workflow: from seated position to carriage movement requires 48 inches of clearance front-to-back. Measure twice; your safety margins depend on it.
During this phase, track your functional metrics alongside spatial efficiency. Note how each piece contributes to your stroke recovery progression. If equipment doesn't serve dual purposes (therapy + space management), it fails the footprint test. Prioritize reset time: if stowing equipment takes longer than the session itself, you'll skip workouts.
Phase 3: Mobility Integration (6-12 Months Post-Stroke)
Now you're integrating coordinated movement patterns across multiple planes. Your equipment needs expand, but your spatial constraints remain. The challenge: maximize therapeutic variety within your fixed footprint.
Smart spatial solutions for this phase:
-
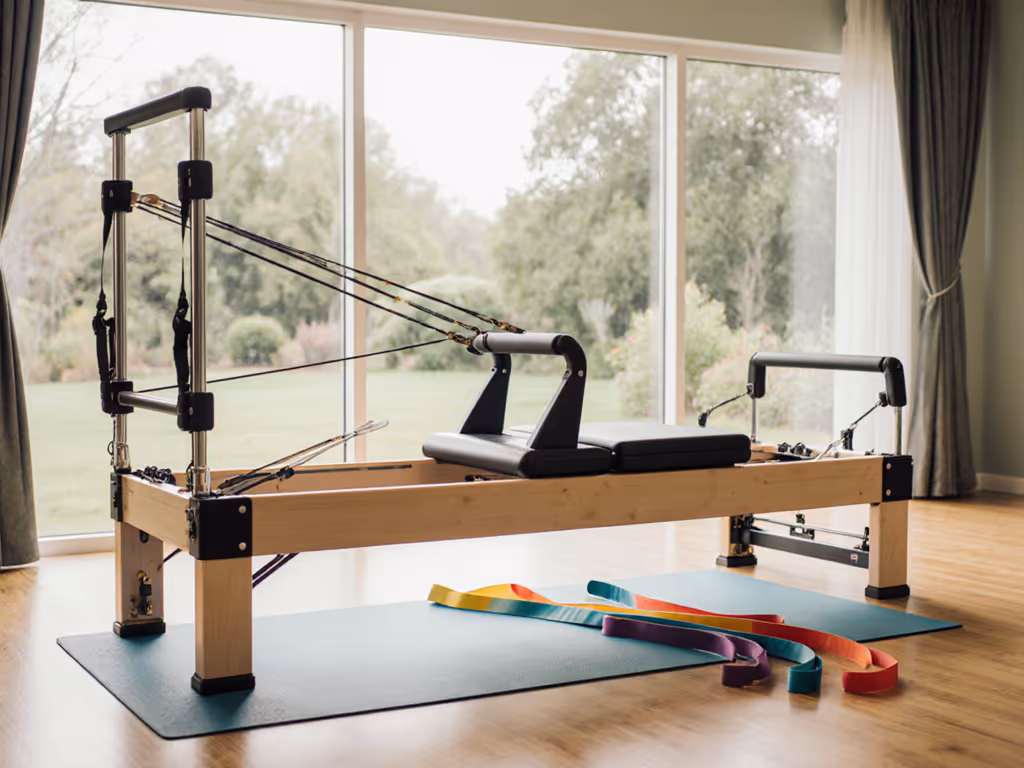
Wall-mounted spring systems: The Balanced Body Studio Reformer I recommended earlier offers spring resistance that can be configured vertically or horizontally. Measure your available wall space: 92 inches length x 26 inches width creates a functional zone without blocking circulation. Its 15-inch height stays below visual clutter lines in most living spaces.
-
Fold-down footbars: Critical for hemiparesis pilates adaptations, these deploy only when needed. Calculate your clearance: when folded, they should sit within 4 inches of the wall to maintain walkway space.
-
Modular accessory storage: Designate one vertical storage zone (max 24x24 inches) for magic rings, therabands, and sandbags. Use this space strictly; any overflow compromises your reset efficiency.
Track your neuroplasticity pilates protocols against spatial metrics. For every exercise added, document the footprint cost. If a new movement requires rearranging your entire space, find an alternative that works within your fixed zone. My golden rule: equipment that takes more than 2 minutes to reset eats into recovery time.
Phase 4: Maintenance & Independence (12+ Months Post-Stroke)
At this stage, your equipment should support autonomy while disappearing into your living space. The goal: zero setup friction so maintenance exercises happen consistently, not when you have time to rearrange your apartment. To keep your reformer operating smoothly and quietly, follow our reformer maintenance guide.
Optimize your space with these strategies:
-
Integrated home layouts: Position your reformer perpendicular to walls rather than parallel. This creates dual access points and maintains 36-inch walkways on both sides, a lease-safe configuration that won't trigger neighbor complaints about blocked egress.
-
Floor protection systems: Use 1/4-inch rubber mats (cut precisely to equipment dimensions) to isolate vibration. Measure your building's floor construction: older wood floors need 30% more isolation than concrete. For surface-specific setup tips, see our guide to equipment setup by floor type.
-
Modular progression paths: Keep one accessory dedicated to ongoing challenges (like a rotational disc) while storing others. This maintains therapeutic variety without spatial chaos.
Document your reset time rigorously. When equipment vanishes from sight in under 90 seconds, it becomes part of your environment rather than an obstacle. My clients who succeed long-term have turned their recovery space into an invisible routine: no setup, no friction, just seamless movement integration.
Final Assessment: Does Your Equipment Earn Its Footprint?
Your space should breathe as your recovery progresses. Measure your equipment footprint against therapeutic value at each phase. If an item doesn't deliver measurable progress in neurological rehabilitation timeline, remove it; your square footage is too valuable to waste.
As you advance, continuously audit your setup using these spatial metrics:
- Clearance ratios: Minimum 2:1 walkway-to-equipment width
- Reset efficiency: Seconds spent deploying/stowing versus active use
- Therapeutic density: Exercises possible per square foot
The best pilates equipment isn't the most expensive or feature-rich; it's what fits your space, supports your recovery stage, and disappears when not in use. When your gear earns its footprint by resetting fast, your space breathes and your practice thrives.
Ready to optimize your stroke recovery space? Download my free Tape-and-Test Spatial Assessment Checklist to map your ideal layout before purchasing equipment.
Related Articles