Pilates Progression Packages: Compact Equipment Sets That Grow
By Keiko Tanaka • 2nd Jun
If you live in a shared building, a pilates equipment set cannot just be strong and versatile, it also has to be quiet, compact, and able to grow with you. Thoughtfully designed pilates progression packages solve this by bundling gear in stages, so you add capability without overwhelming your space, your schedule, or your neighbors.
In this article, I'll compare the main progression paths that work in real apartments and micro-studios, using the same lenses I use on our bench: footprint, decibels, vibration, stability, and upgrade compatibility.
Performance you can live with equals strength, silence, and stability in the space you actually have.
How to Read This Comparison: Test Conditions & Metrics
Before we talk bundles, here's how I evaluate any Pilates package for compact homes. If you're still arranging your room, see our silent small-space studio setup guide.
Test Conditions I Assume
All noise and vibration comments below assume common apartment conditions:
- Room size: 9-12 ft (2.7-3.6 m) wide, 12-16 ft (3.6-4.8 m) long
- Floors: either old wood over joists or concrete with a thin floating floor
- Ceiling height: 8-9 ft standard
- User: 5'4"-5'10" (163-178 cm), 120-180 lb (54-82 kg) for stability assumptions
- Sound measurement: A-weighted decibels at 1 m from the loudest point, during dynamic use
In this context, I treat noise like this:
- 40 dB(A) or lower: whisper-quiet, safe for late nights with sleeping kids next door
- 41-48 dB(A): acceptable in most buildings; occasional thump might telegraph below
- 49-55 dB(A): daytime only if you have thin floors or sound-sensitive neighbors
- Over 55 dB(A): red flag for upstairs apartments unless heavily isolated
On vibration, I focus on whether impact travels into the structure. On old wood floors, a bad impact profile can feel louder to your downstairs neighbor than to you.
When I say something is "low vibration," I mean carriage landings or step-ons feel localized rather than echoing through the floorboards.
The Four Core Progression Paths
Most smart pilates starter packages for small spaces fall into one of four patterns:
- Mat-Based Foundation Set - props-only start; builds body awareness and consistency.
- Mat to Reformer Bundle - a compact reformer added onto that foundation.
- Apparatus Advancement Kits - tower, chair, and small apparatus layered onto a mini-reformer or mat corner.
- Value Progression Bundles - curated, staged sets that map to apartment sizes or micro-studio capacity.
We'll walk through each, then compare them side by side.

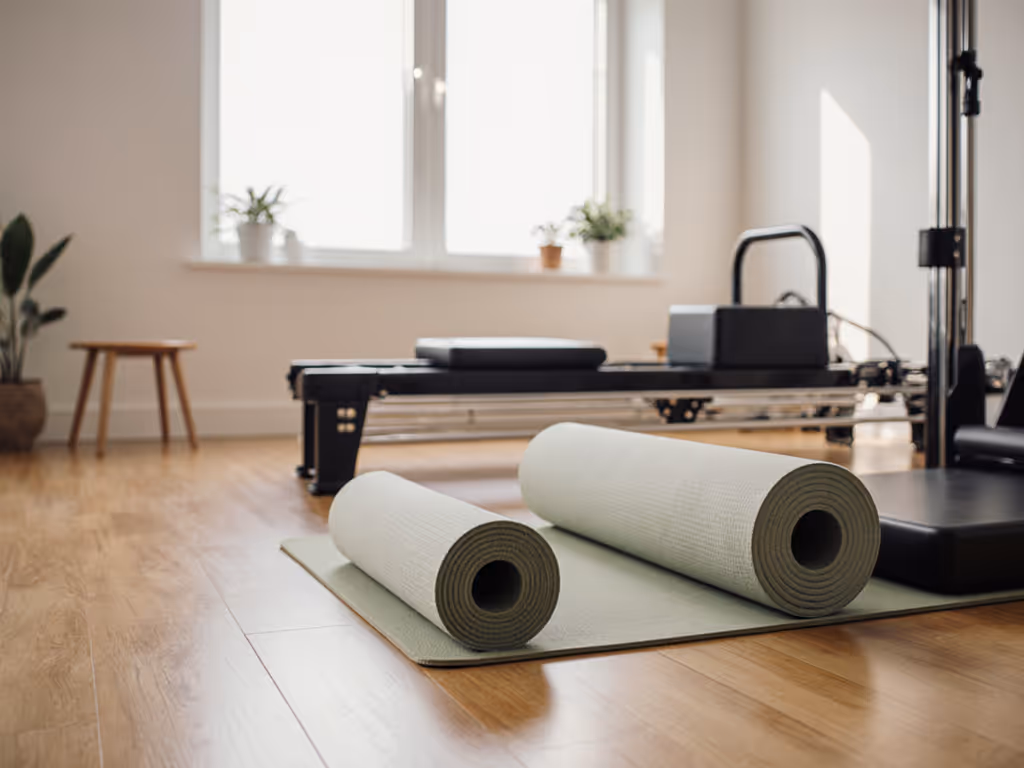
1. Mat-Based Foundation Sets
What it is:
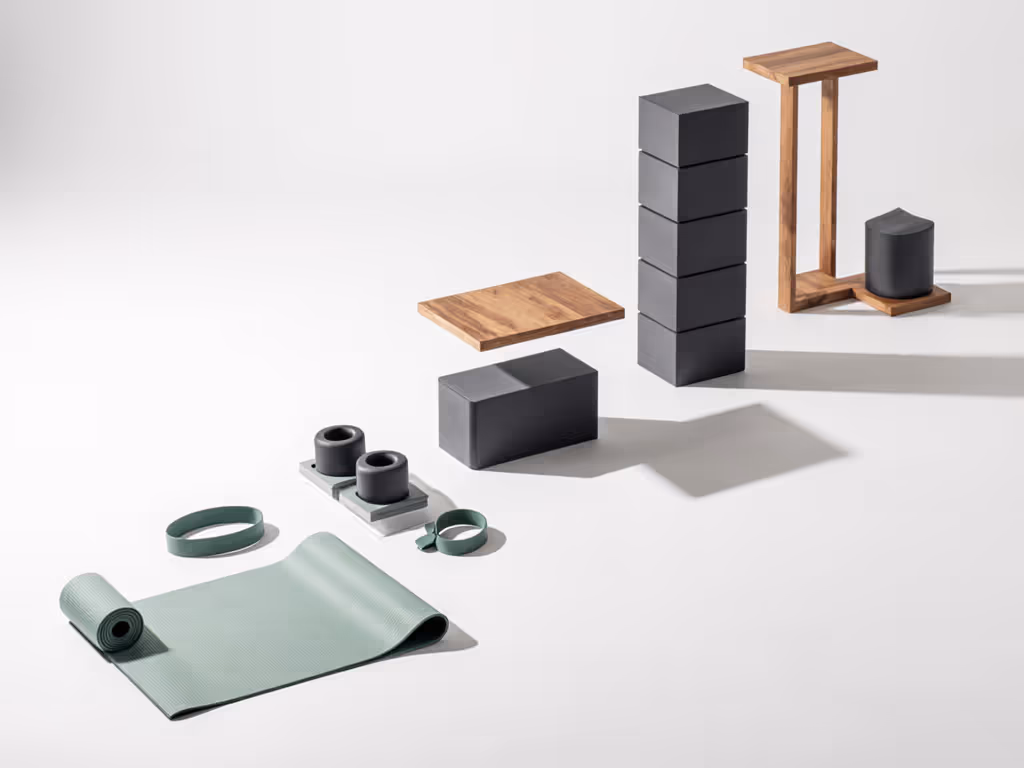
A minimalist pilates equipment set centered on a mat and a few high-yield props:
- High-density, low-odor mat (thicker for wood floors)
- Light and medium resistance bands or tubes
- Small ball, magic circle, and maybe a pair of light hand weights
- Optional: non-marking floor dots or tape for consistent foot/hand placement
Footprint & storage:
- Active footprint: roughly the size of your body plus 1-2 ft on all sides
- Storage footprint: fits in a closet, under a bed, or in a small basket
- Setup/teardown: under 90 seconds
Noise & vibration:
- Impact is almost entirely your body contacting the mat
- With a high-density mat over wood: typically under 40-42 dB(A) at 1 m for most sequences
- On concrete: effectively silent outside your unit
This is the only progression stage where noise is nearly a non-issue if you avoid dropping weights.
Stability & load capacity:
- Stability is about you, not the equipment
- Mat thickness matters: 10-12 mm can reduce perceived vibration on creaky wood floors
Pros:
- Quietest possible starting point
- Zero structural risk; nothing to bolt, nothing heavy to lug upstairs
- Ideal for renters testing whether a consistent practice will stick
Cons:
- Limited resistance progression without adding more props
- No carriage-based work; less direct carryover if your goal is full reformer practice
Best for:
- New parents training during nap windows
- Residents over very noise-sensitive neighbors
- Anyone still deciding if they'll eventually commit to a reformer
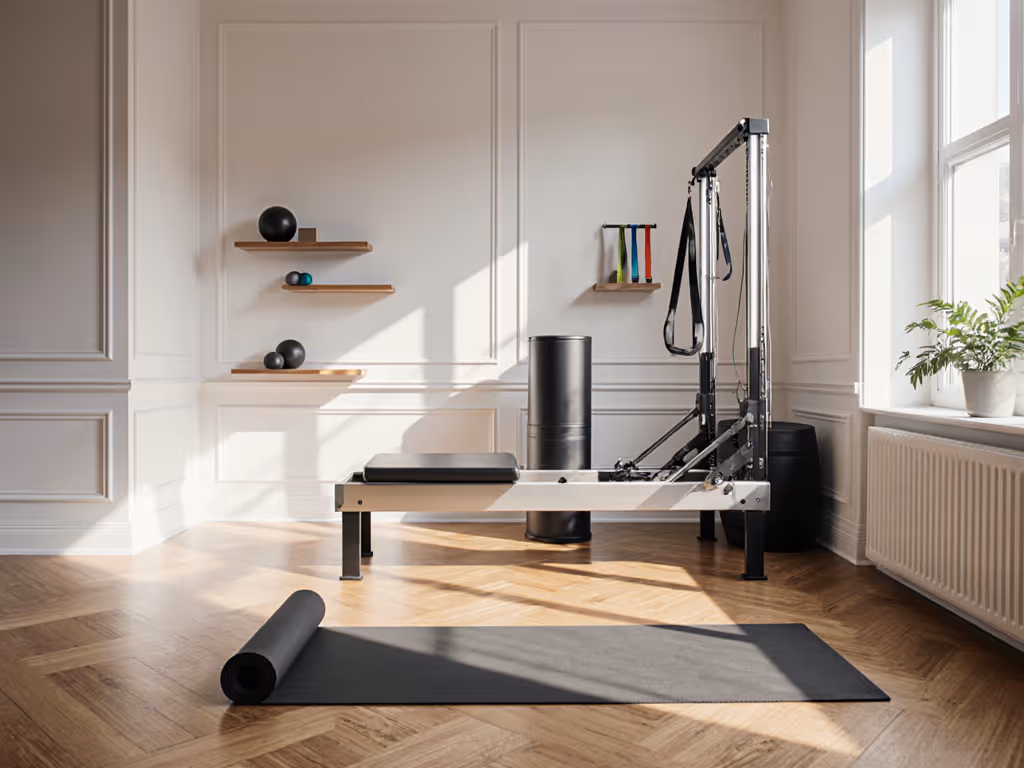
2. Mat to Reformer Bundle
This is the classic mat to reformer bundle progression: you keep your mat-based setup and add a compact reformer that either folds, stands, or rolls into storage.
Typical components:
- All mat-foundation props above
- Compact reformer (often shorter than studio models; may be foldable or stackable)
- Box and jumpboard or cardio rebounder in better value progression bundles
Footprint:
- In use: roughly 6.5-8 ft long, 2-2.5 ft wide
- Clearance needed: ideally 1.5-2 ft around the frame for safe mounting
- Storage: under a bed, stood on end, or against a wall with straps
Noise & vibration profile:
This is where decibels and vibration isolation start to matter. If you plan to add cardio, choose a quiet jumpboard attachment proven for apartments.
- Quiet carriage glide with proper wheels and rails: 40-46 dB(A) during smooth footwork
- Carriage "clack" at end range on cheaper builds or poor padding: spikes to 50-55 dB(A)
- Jumpboard use: frequent impacts can enter the 50-60 dB(A) zone without isolation pads
On old wood floors, a light but rigid frame can amplify vibration, acting like a tuning fork. I pay more attention to:
- How the frame contacts the floor (broad feet vs point contacts)
- Whether there are rubber isolation feet or only hard casters
- The quality of stoppers and bumper materials at rail ends
Stability:
Most compact reformers are rated to at least 250 lb; some go to 300-350 lb. For upstairs apartments, I look at dynamic stability instead:
- Side-loading (standing work on the carriage edge)
- Tall users doing long stretch or elephant
- Partial body weight on jumpboard or footbar at end range
If the frame shifts more than a couple of millimeters on a moderate lunge, it's too skittish for hardwood over joists.
Storage & setup:
- Foldable models: 2-4 minutes to open, lock, and check springs
- Stand-up models: require confidence and floor space to tilt safely
- Roll-under-bed models: easy to move, but you need clear floor tracks
Pros:
- Massive jump in exercise variety vs mat-only
- Can deliver 70-80% of a full studio repertoire for most home practitioners
- Strong footprint-to-performance ratio if you choose well
Cons:
- Requires floor protection planning for both noise and finish
- Cheap builds can develop squeaks and carriage chatter within months
Best for:
- Intermediate practitioners ready for progressive resistance
- Micro-studios starting with 1-2 stations in multipurpose rooms
- Anyone wanting a studio-like feel without dedicating an entire room
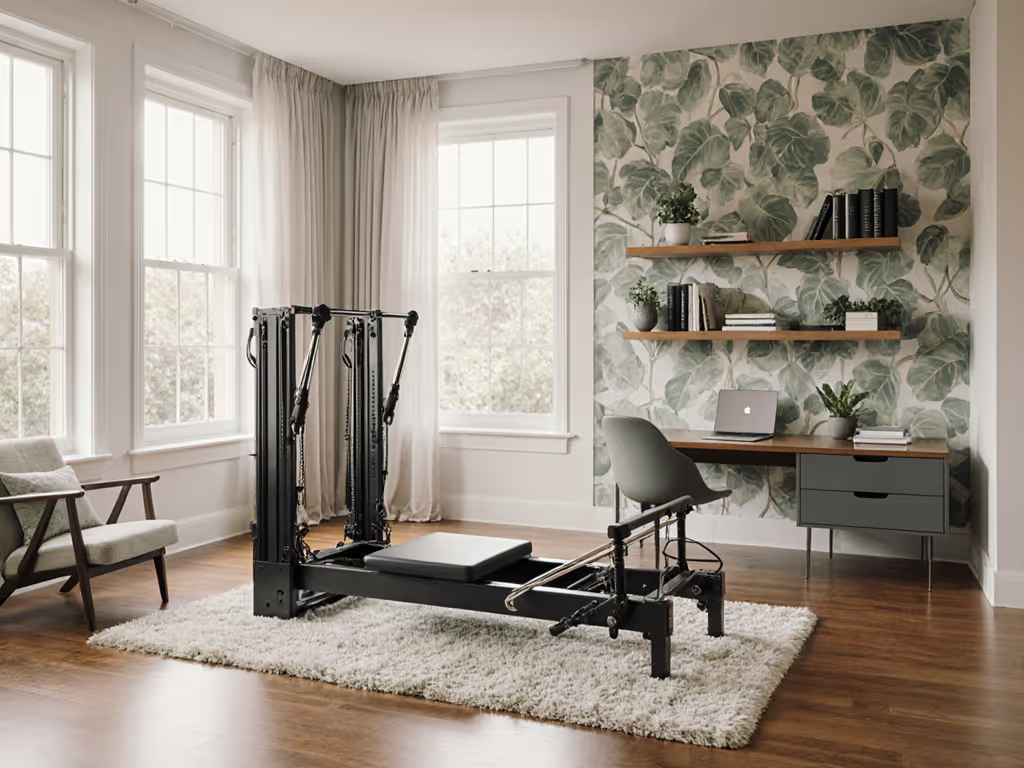
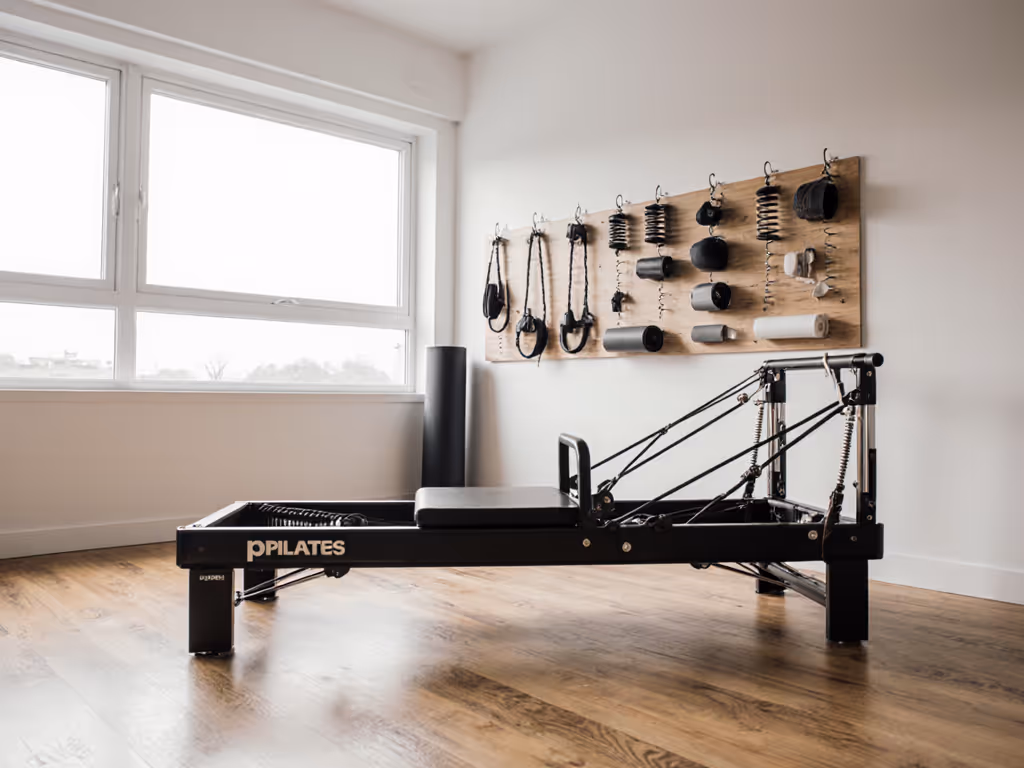
3. Apparatus Advancement Kits
These are the apparatus advancement kits that turn a mat corner or mini-reformer into a near-complete studio ecosystem without adding multiple full frames. Not sure which secondary apparatus to prioritize? See our Wunda chair vs ladder barrel comparison.
Common elements include:
- Tower/half-trapeze compatible with a specific reformer frame or wall-mounted over a mat
- Wunda chair or split pedal chair
- Ladder barrel or compact arc barrel
- Additional springs, straps, and handles calibrated to your base unit
These kits are where compatibility confusion spikes (different brands use different attachment geometries, spring lengths, and mounting hardware). I avoid cross-brand mixing unless the manufacturer explicitly supports it.
Footprint:
- Tower + reformer: similar footprint to a full reformer, but you need vertical clearance and overhead room for arm springs
- Wall tower + mat: about 3-4 ft width of wall plus 8-9 ft forward mat space
- Chair: roughly 2 x 3 ft in use; can tuck into a corner when not active
Noise & vibration:
- Tower springs: can be very quiet if guided; noisy if they slap against uprights
- Chair: step-on and step-off can send short, sharp vibrations through wood floors
With towers and chairs, I look for:
- Spring anchoring that doesn't rattle when unloaded
- Non-metallic stops where metal meets metal
- Wide, grippy feet that don't skate on finished floors
Stability:
Stability matters more than ever when you start pulling from overhead or standing on smaller bases of support.
For home units in mixed-use buildings, my non-negotiables:
- Tower frames that feel rigid at the top crossbar when you pull sharply on arm springs
- Chair bases that don't rock diagonally when stepping to one pedal
You want to feel you moving around a stable apparatus, not the apparatus shifting under you.
Pros:
- Huge expansion of repertoire without adding multiple full frames
- Allows periodized work (e.g., tower-focused days, chair-focused days) within one corner
Cons:
- Compatibility lock-in; you're often tied to one brand ecosystem
- Setup may require more permanent anchoring if wall-based (harder for renters)
Best for:
- Dedicated home practitioners who know they're in this for years
- Micro-studios needing more variety per square foot rather than more reformers
4. Value Progression Bundles
Finally, what I call value progression bundles: curated packages that intentionally sequence your purchases. Instead of buying random gear, you follow a staged hardware roadmap.
Common structures:
- Stage 1: mat-plus-props starter
- Stage 2: add compact reformer with matching box and jumpboard
- Stage 3: integrate tower or chair, using existing springs and accessories
These bundles often reflect what I learned in my first tiny apartment over a late-night jazz bar: measure, adjust, verify, quiet that earns your neighbor's forgiveness. You buy once at each stage with a clear plan for how it will feel, sound, and store in your real room.
What to look for in a good progression bundle:
- Clear dimensions for every stage, including recommended clearances
- Honest weight and noise guidance by floor type (wood vs concrete)
- Ecosystem stability: same springs, same straps, upgrade compatibility guaranteed
- Transparent ceiling height requirements for towers and overhead work
Side-by-Side: Which Progression Fits Your Space and Life?
Here is a high-level comparison of the four paths for small-space living.
| Progression Type | Typical Components | Footprint & Storage | Noise & Vibration (Upstairs) | Setup Complexity | Best Fit |
|---|---|---|---|---|---|
| Mat-Based Foundation | Mat, bands, ball, ring, light weights | Minimal; closet or under-bed | Whisper-quiet; body-only impact | Very low | New, noise-sensitive, renters |
| Mat to Reformer Bundle | Mat set + compact reformer, box, jumpboard | Moderate; 6.5-8 ft x 2-2.5 ft in use | 40-55 dB(A) depending on build and isolation | Low-moderate (fold/stand) | Intermediate home users, micro-studios |
| Apparatus Advancement Kits | Tower, chair, barrel built on mat or reformer base | High; uses vertical space and corners | 40-52 dB(A); spring noise and step impact to manage | Moderate-high | Committed practitioners, variety-focused |
| Value Progression Bundles | Sequenced stages combining above in one ecosystem | Scales with commitment; efficient long-term | Tunable per stage if chosen carefully | Smoothed over time | Planners, budget-aware, growth-focused |
Noise & Vibration: Making Each Stage Neighbor-Safe
Because this audience cares about quiet as much as capability, here's how to keep each progression stage within "good neighbor" limits.
Mat-Only & Mat-Plus-Props
- Choose denser mats over super-plush foam; they reduce vibration on wood better.
- Avoid dropping props - place them deliberately.
- If you're over a particularly sensitive neighbor, add a thin rubber underlay beneath your mat.
Expected profile: sub-42 dB(A) for almost all moves, effectively inaudible downstairs.
Compact Reformer Stage
To keep a mat to reformer bundle quiet in upstairs units: For a full upkeep checklist, follow our reformer maintenance guide.
- Place the frame on a thin rubber isolation layer (not thick foam, which can destabilize it).
- Check and tighten all fasteners monthly to prevent squeaks.
- Prefer silent or near-silent wheels and carriage tracks - nylon or coated rollers over hard metal-on-metal.
- Use the jumpboard sparingly at night; prioritize slower, controlled sequences.
A well-set-up compact reformer can usually stay under 46-48 dB(A) for general work, with impact spikes controlled by bumpers and springs.
Tower & Chair Stage
For apparatus advancement kits, focus on:
- Tower: ensure top and bottom mounting is rigid; any wobble amplifies noise.
- Chair: add grippy, dense pads under the feet to stop micro-sliding.
- Avoid letting springs snap back; guide them to neutral.
If tuned correctly, tower and chair work can sit in the 42-50 dB(A) band for most sequences, acceptable for daytime in nearly any building and often fine in evenings.
Space Planning by Apartment Type
Different buildings behave differently. Here is how I'd prioritize progression in three common cases.
1. Old Wood Floors (Pre-War, Converted Houses)
- Start with pilates starter packages centered on mat and low-impact props.
- If adding a reformer, choose one with broad, rubberized feet and a moderate weight; use a dense underlay.
- Delay jumpboard-heavy work until you've tested how impact travels; neighbors downstairs will be your best sensors.
Ideal progression: Mat-only -> Mat to Reformer Bundle (low-impact focus) -> Chair or wall tower if joists and walls are sound.
2. Thin-Walled Mid-Rise with Floating Floors
- You may have better vertical isolation but more lateral sound transmission.
- Focus on vibration isolation pads more than mass; don't overload flexible floors.
- Favor apparatus that stays close to the floor (reformer, chair) over tall, lightly braced towers.
Ideal progression: Mat-only -> Reformer -> Select apparatus kit (chair, barrel) rather than full tower.
3. High-Rise Concrete
- Concrete dampens vibration well but can echo sound within your unit.
- You can usually tolerate heavier frames without disturbing neighbors.
- Focus on decibel control inside the room - soft coverings and rugs help.
Ideal progression: Mat-only -> Reformer -> Tower or half-trapeze as desired; almost any pilates progression packages route can work here with modest noise control.
Micro-Studio & Multi-Use Rooms: Throughput vs Tranquility
For micro-studio owners and instructors running sessions in small rooms, the equation changes slightly: you're managing multiple bodies in motion and turnaround time, not just your own practice.
Key factors:
- Stations per square foot: how many working spots you can fit without blocking exits
- Reset speed: how fast you can switch configurations between clients
- Collective noise: overlapping springs and carriages in a small space
Here, the best value progression bundles tend to:
- Standardize on one compact reformer footprint across stations
- Add towers only where ceiling height, wall strength, and budget allow
- Integrate a shared chair or barrel for advanced work rather than one per client
Noise-wise, three compact reformers in full flow will compound. That makes carriage quietness and bumper quality far more important than in a single-home setup.
Practical Checklist: Choosing a Progression Path That Grows Cleanly
Use this checklist to stress-test any pilates equipment set or bundle before you buy.
1. Measure Your Real Room
- Room length and width
- Ceiling height (especially if you anticipate towers)
- Door swing and walkway requirements (studio: factor basic fire code clearances)
2. Set Your Noise Budget
- Decide when you'll train: early morning, nap windows, late night?
- If you'll use jumpboard or chair, assume higher peaks and plan extra isolation.
- Aim for systems that can stay in the quiet conversation range for most of your practice.
3. Map a Three-Stage Hardware Roadmap
- Stage 1: Which pilates starter packages match your floor and schedule?
- Stage 2: Which mat to reformer bundle can physically fit while preserving walkways?
- Stage 3: Which apparatus advancement kits are guaranteed compatible with your Stage 2 base?
4. Demand Compatibility and Parts Transparency
Even without brand names here, insist on:
- Clear statements about spring compatibility across upgrades
- Published maximum user weight and suggested height ranges
- Availability of replacement springs, straps, wheels, and pads
5. Plan Floor Protection and Isolation from Day One
- Wood floors: dense rubber underlay sized to the frame footprint
- Concrete: thinner pads primarily to protect finishes and reduce in-room noise
- Multi-unit studios: consider modular platforms that can be rearranged as you grow
Final Verdict: Smart Progression for Quiet Strength
If you want a compact setup that grows with you and keeps peace with your building, think in progression packages, not one-off purchases.
- If your top concern is neighbor-safe quiet and you are still building consistency, a mat-based foundation set is the logical first step.
- If you crave a studio feel in a small footprint and can commit a defined zone of your room, a thoughtful mat to reformer bundle offers the best footprint-to-performance ratio.
- If you are already consistent and hungry for variety, targeted apparatus advancement kits layered onto that base give you near-studio versatility without multiplying full frames.
- If you know you will grow over several years, look for value progression bundles that keep you in a single, compatible ecosystem through all three stages.
Your next move is simple: measure your room, set a personal noise budget, and sketch your three-stage roadmap before you buy anything. From there, every piece of equipment you add has a job, a place to live, and a clear role in your future practice.
That is how you build a Pilates corner that gets stronger, not louder, over time.
Related Articles