Build Your Pilates Equipment Set: A Progression Timeline
By Keiko Tanaka • 27th Mar
A pilates equipment set isn't something you should acquire in one overwhelming delivery. Instead, it's a measured build tailored to your body, your space, and your actual readiness to handle each new tool's complexity and physical demands. This FAQ-style guide walks through the honest progression markers so you don't buy equipment you're not ready to use, or worse, equipment that creates noise and stability problems in a shared living space.
Do I Actually Need to Move Beyond Mat Pilates?
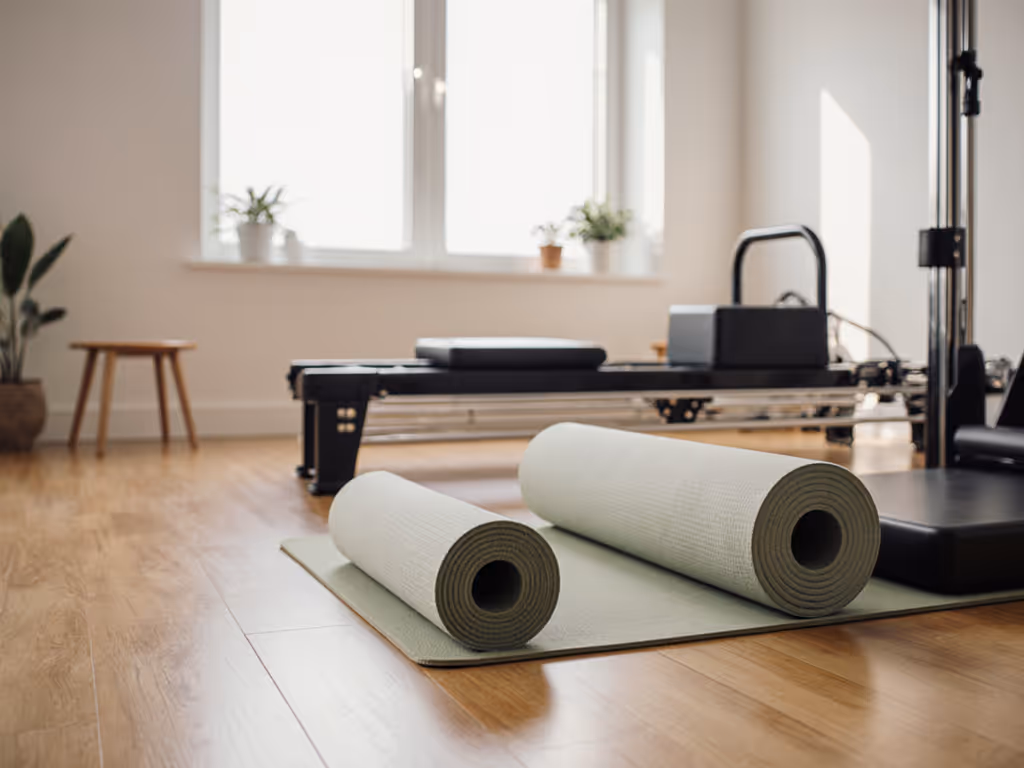
Mat Pilates is enough to build core strength and posture awareness, and it requires only a properly cushioned mat (not a thin yoga mat, which causes discomfort during rolling exercises).[4] If you're practicing 2-3 times a week with consistency, you'll see postural improvements and increased energy within weeks, and noticeable core strength gains by 12 weeks.[3]
That said, mat work alone has a ceiling. You'll plateau on certain movement patterns (hamstring depth, spinal articulation, and asymmetry correction) because you're working with gravity, not against graduated resistance. A mat practice suits people who:
- Have very limited square footage (under 120 sq ft of practice space)
- Live above noise-sensitive neighbors or in buildings with low acoustic tolerance
- Prefer minimal equipment and setup friction
- Are new to Pilates and still building foundational awareness
If none of these apply, or if you've practiced 8-12 weeks consistently and feel the ceiling, then the question isn't whether to upgrade, but what to upgrade to first.
What Does "Readiness" Actually Mean Before Adding Apparatus?
Readiness isn't about achievement or age, it's about consistency and control. I've watched practitioners buy a Reformer after three mat classes and spend two months figuring out why their lower back hurts on Footwork.[2] Readiness markers:
- You've completed 12+ mat sessions (not sporadic; regular weekly practice)
- You can maintain a neutral spine during rolling exercises without compensation
- You can execute a stable Bridge without hip sag or rib flare
- Your instructor has observed your form and confirmed safe carriage readiness
In my first apartment above a jazz bar, I learned that quiet isn't magical, it's measurable. When I added equipment, I tested each machine's footprint and vibration signature against my floor type and neighbor tolerance. That same principle applies here: add apparatus when you're technically ready, and when your space can accommodate it without creating friction (literal and social) with your environment.
When Should I Make the Mat-to-Reformer Transition?
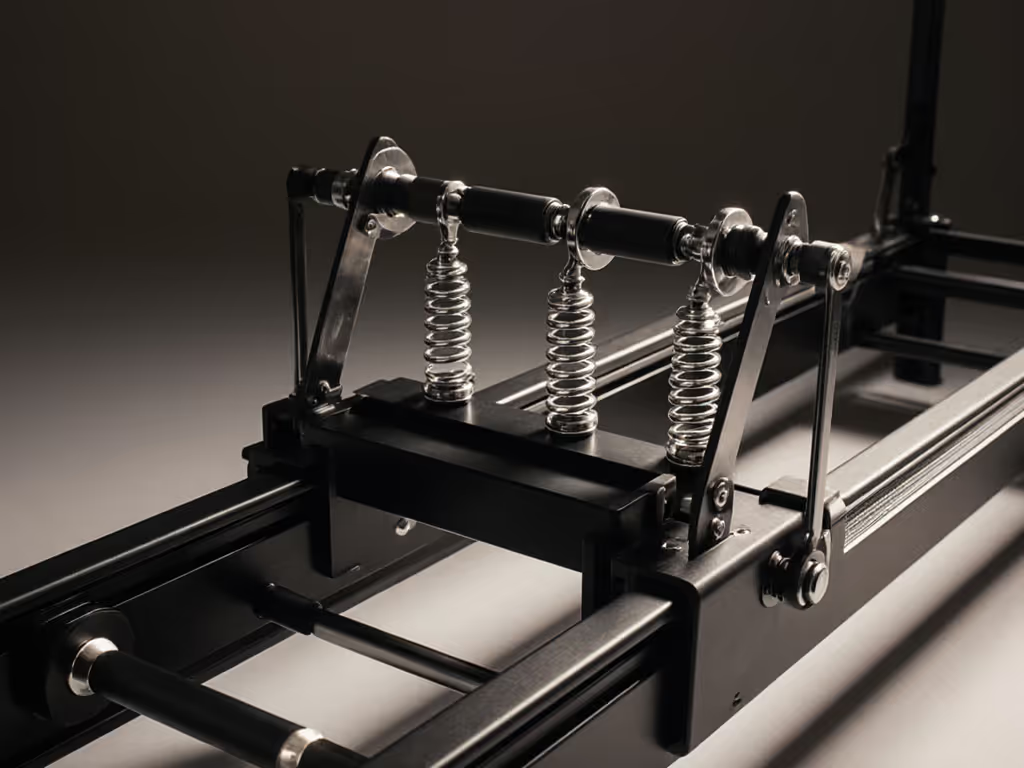
The mat to reformer transition typically occurs around 12-16 weeks into a consistent practice, when you've built enough proprioceptive awareness to handle spring resistance without compensating.[3] A Reformer's adjustable springs (typically 2-4 springs for beginners) allow fine-tuned resistance, making it possible to train deeper patterns than mat work alone allows.[3][5]
In practical terms: you're ready when your studio instructor says so, not when you feel restless. Jumping early adds injury risk and (critically for shared housing) introduces carriage impact and spring chatter that mat practice never did. Test your environment first. If your floor is thin, creaky, or directly above lived-in space, ask your instructor for a trial session and measure the vibration profile (if you have access to tools) or simply listen from the floor below. New to reformers? Start with our beginner's reformer guide to understand components, spring setups, and quiet operation basics.
Net-quiet score consideration: A Reformer's noise baseline is typically 65-75 dB during active use on a hard floor, depending on carriage damping quality and spring adjustment. On a properly isolated mat or platform, this drops 8-12 dB. In a concrete high-rise, that difference is felt by neighbors; in a single-family home with a basement, it's often not an issue.
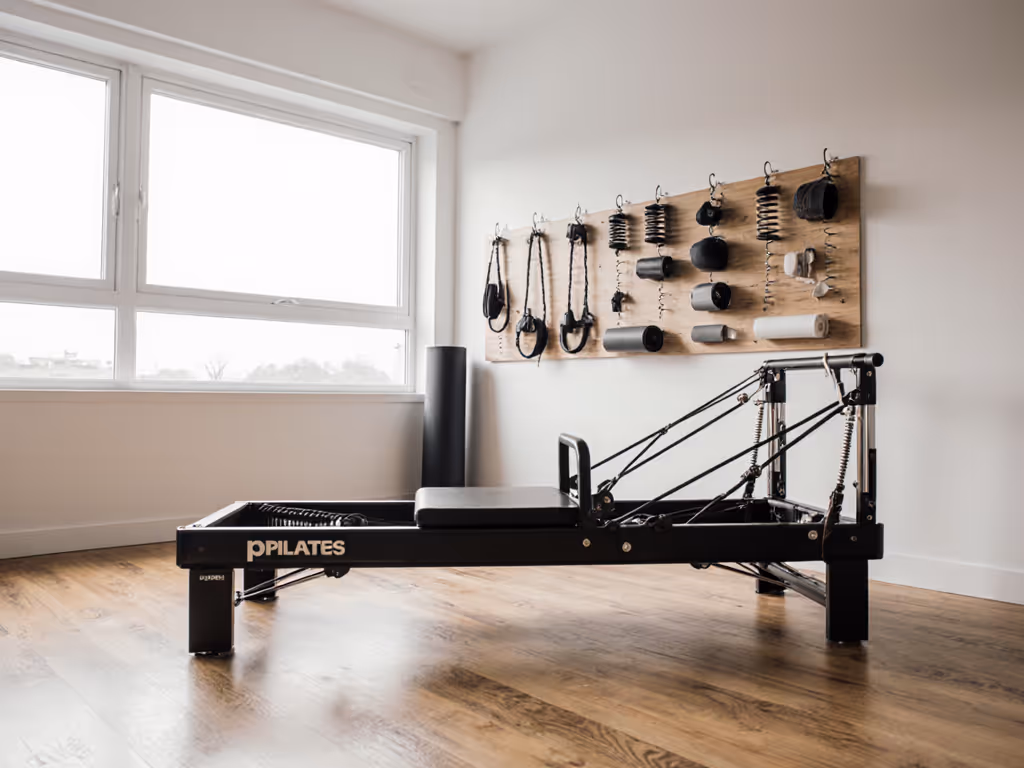
What About the Wunda Chair, Cadillac, or Other Apparatus?
These are not "progression" from the Reformer, they're specialized tools for specific outcomes.[5]
The Wunda Chair (also called Pilates Chair) is compact, highly destabilizing (which builds deep stability muscles), and demands excellent proprioception. It's ideal if you have minimal space but high technical skill. Noise profile: 68-78 dB because the pedal mechanism can create audible click-and-spring sounds. It's actually louder than a smooth Reformer carriage in many cases.
The Cadillac (Trapeze Table) is the most forgiving and versatile for stretch and rehabilitation work. It's bulky, requires ceiling clearance (usually 9+ feet), and is best suited to dedicated studios, not micro-apartments. Noise profile: generally 60-68 dB (among the quieter apparatus) because most movement is isometric or slow. If floor space and ceiling height aren't constraints, it's excellent for long-term variety.
The Ladder Barrel focuses on spinal extension and is quieter than rolling apparatus because there's no carriage impact. However, it requires clear floor space and stable positioning. Many practitioners add it as a third or fourth piece after mastering Reformer basics.
The Ped-a-Pul is upper-body and postural (useful if your Reformer practice feels lower-body heavy), but it's a specialist tool, not a progression step.
What's a Realistic Timeline for Building Out a Full Pilates Equipment Set?
Here's where skepticism matters. Industry marketing suggests you can own a complete studio in your apartment. Data says otherwise. A realistic, measured progression looks like this:
Months 1-4: Foundation (Mat + Optional Props)
- Investment: $50-$200 (quality mat + towel or optional magic circle)
- Focus: Movement literacy, neutral spine, breath patterning
- Space: Any 6×8 ft clear area
- Noise: Negligible (only your body weight)
- Commitment: 2-3 sessions weekly, 20-30 min each[3]
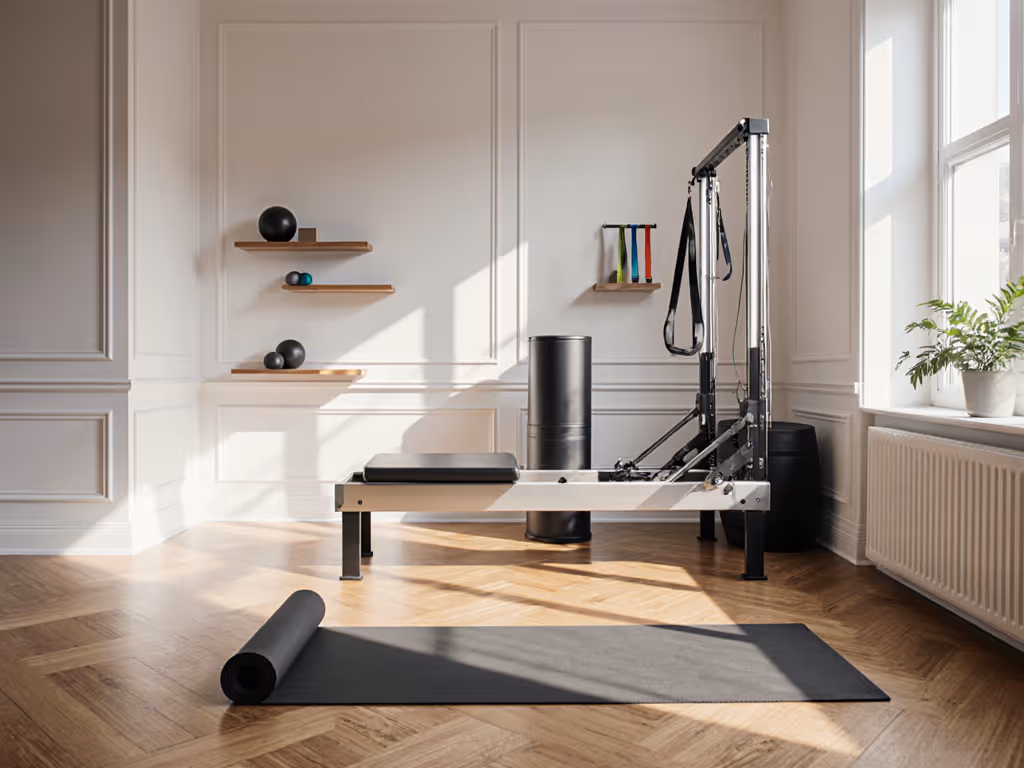
Months 4-7: Primary Apparatus (Reformer or Cadillac)
- Investment: $4,000-$12,000 (depending on brand, condition, size)
- Focus: Spring resistance, carriage mechanics, full-body integration
- Space: 8×10 ft minimum (Reformer); 10×8 ft + 9 ft ceiling height (Cadillac)
- Noise: 65-75 dB (Reformer on isolating mat), 60-68 dB (Cadillac)[2]
- Commitment: 2-4 sessions weekly, 30-50 min each
- Readiness check: Instructor sign-off on form, baseline noise testing in your space, floor isolation plan confirmed
Months 8-14: Secondary Apparatus (Wunda Chair, Ladder Barrel, or Ped-a-Pul)
- Investment: $1,500-$4,000 per piece
- Focus: Specialized strength, spinal flexibility, postural refinement
- Space: 4×4 ft (Wunda Chair); 6×6 ft (Ladder Barrel)
- Noise: Varies, Wunda Chair often louder due to pedal mechanism; Ladder Barrel quieter
- Commitment: 1-2 focused sessions weekly per apparatus
- Readiness check: Clear technical mastery of Reformer basics; functional space without crowding
Beyond Month 14: Micro-Specialty or Studio Setup
- If building a micro-studio for clients: modular 2-Reformer or 1-Reformer + Cadillac + Wunda Chair setup with clear traffic flow
- If home-based: cap at 2-3 apparatus pieces to avoid overwhelming your space and your neighbors' tolerance
What About Buying Incrementally Versus Bundling?
Incremental buying aligns better with skill readiness and space reality. Bundles often include apparatus you won't use for 6+ months, creating storage friction and financial waste. However, if you're setting up a micro-studio or are certain of your space, bundled packages (Reformer + Cadillac, for example) can offer 10-20% savings and streamlined delivery. If you're evaluating full packages, compare our home studio equipment bundles for vibration-free, neighbor-safe setups.
Key decision point: Can your floor and acoustic environment actually handle full apparatus loading? If you're in a pre-war walk-up with creaky floors, rushing to add a Cadillac in month 5 might trigger noise complaints before you see the strength benefits. Measure, adjust, verify, the principle holds whether you're buying one piece or three.
Should Equipment "Skill Milestones" Drive My Timeline?
Yes, but with nuance. Skill milestones aren't just about exercise difficulty, they're about neuromuscular integration and readiness to handle instability safely.[2][3]
Classical progression markers:
- Month 4-6: Mastery of Reformer Footwork, The Hundred, Leg Circles, Frog series[3]
- Month 7-10: Short Box series, Elephant, Knee Stretch variations, beginning spinal articulation[3]
- Month 11-14: Jumpboard intervals, more complex stomach massage flows, integration of secondary apparatus[3]
- Month 15+: Advanced sequencing, suspension work (if available), teaching-level precision
These aren't hard gates. Some people advance faster; others need 20-24 weeks on Reformer basics before adding Wunda Chair. The honest marker is this: if you're still struggling with stable carriage control or over-engaging your neck and shoulders, adding a pedal-based apparatus isn't acceleration, it's accident risk.
What About Equipment Readiness Indicators in Small Spaces?
Before you buy, audit your actual space against these indicators:
- Footprint spec accuracy: Most manufacturers list machine footprint, not required clearance. A Reformer needs 8-10 ft length, 3.5 ft width, and 2 ft behind for leg extension. Measure twice.
- Floor type and isolation: Hard floors (tile, wood) transmit vibration upward and laterally. Carpet and concrete high-rises dampen differently. Test in-studio first, then replicate with isolating mat or platform in your space. For floor-by-floor setup tips, see our Pilates flooring guide.
- Noise acceptance threshold: Ask neighbors or your building manager if there's a complaint baseline (e.g., no noise above 70 dB during daytime hours). Know this before you buy.
- Ceiling clearance: Don't assume. Measure to the lowest point (ductwork, fixture). Apparatus like the Cadillac require 9+ feet; some reformers with towers, similar.
- Storage plan for secondary apparatus: If you're buying a Ladder Barrel as piece three, where does it live on non-training days? If it blocks your bedroom door or takes 15 minutes to drag out, you won't use it consistently.
These aren't nitpicky, they're the difference between a pilates equipment set that becomes part of your life and an expensive floor sculpture that gathers dust.
What's the Bottom Line for Phased Building?
Start with mat + foundational awareness (4-6 months). Move to a primary apparatus (Reformer or Cadillac) once your instructor confirms readiness and your space noise profile is clear. Add secondary pieces only after 2-3 months of regular primary apparatus use and only if your space, schedule, and skill genuinely warrant it.
This timeline is slow by industry standards. It's also the one that builds durable strength, keeps your neighbors quiet, and ensures every piece you own gets used consistently. Equipment readiness indicators (form mastery, space validation, noise testing) matter more than time on a calendar.
The best upgrade is the one you're genuinely ready for, that fits your space without compromise, and that you'll actually use. Everything else is marketing optimism.
Further Exploration
If you're ready to audit your space for apparatus, document your floor type, measure ceiling clearance, and consider a trial class on the specific equipment you're eyeing. Test the carriage feel, note the noise level, and ask instructors about their own home setups in shared buildings. Real-world data from practitioners in your building type beats any spec sheet.
For micro-studio builders: model your station layouts on graph paper first, factoring in 2 ft of safety clearance around each apparatus and ADA walkway requirements (typically 36 in. minimum). Pilot one Reformer before committing to three; learn its noise signature and client flow before scaling.
Finally, connect with your local Pilates Method Alliance affiliate or certified instructors who specialize in small-space setups. They'll have tested gear in environments like yours and can recommend specific models and isolation strategies backed by lived experience, not marketing claims.
Related Articles